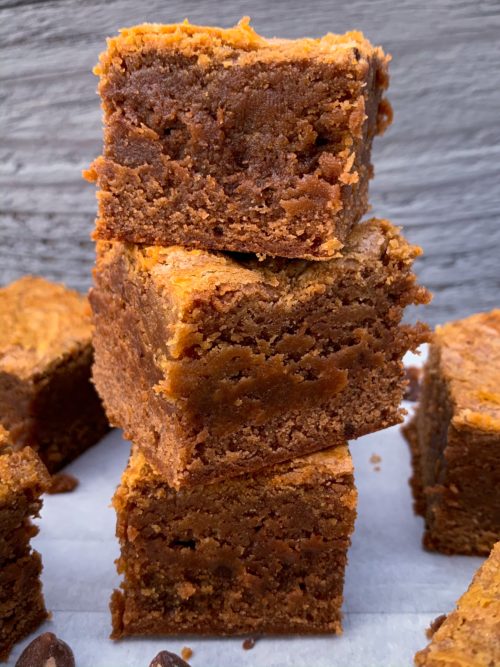
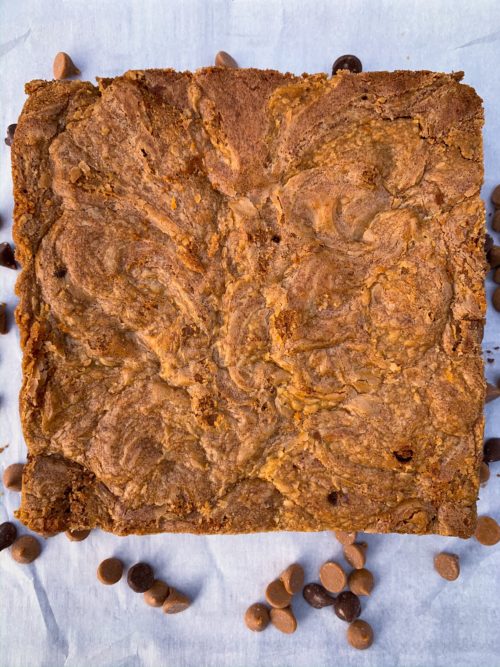
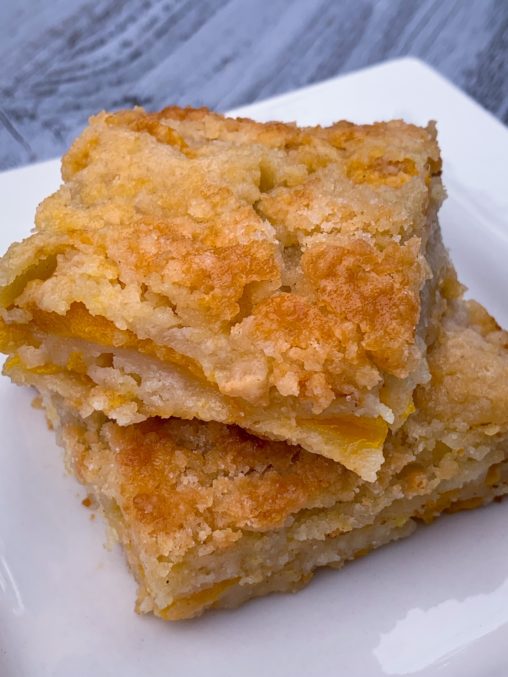
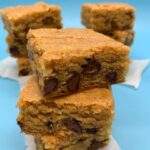
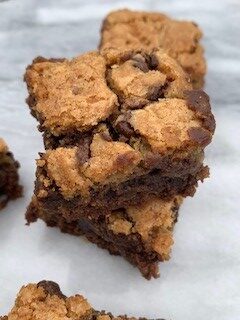
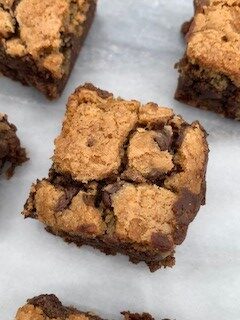
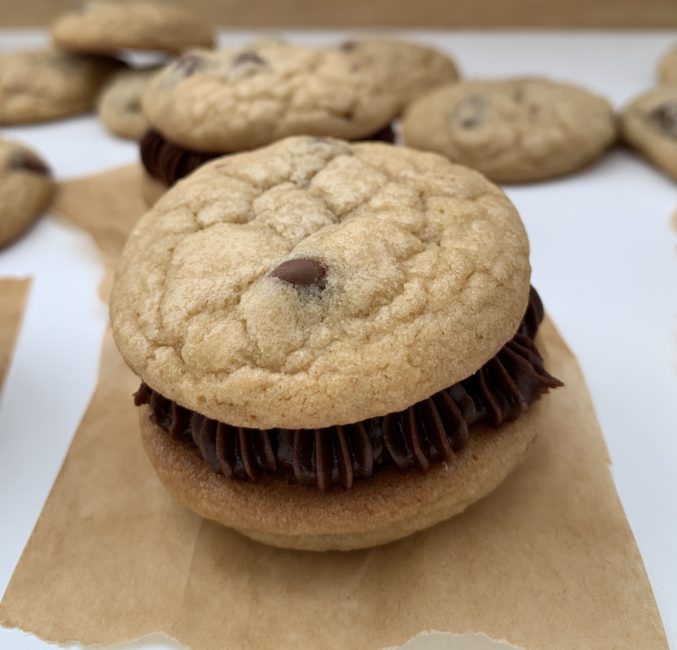
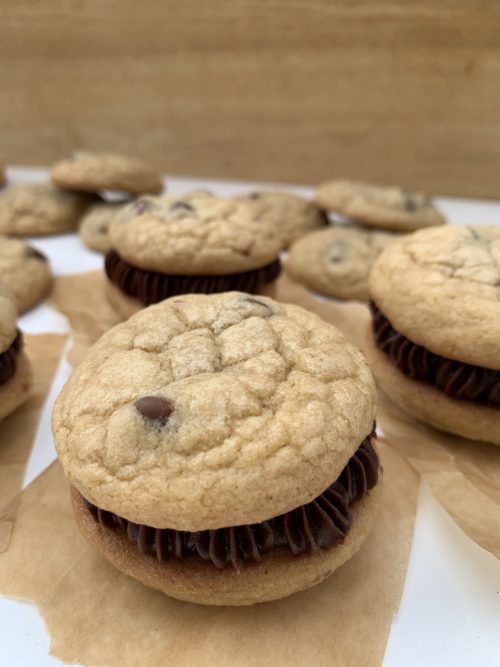
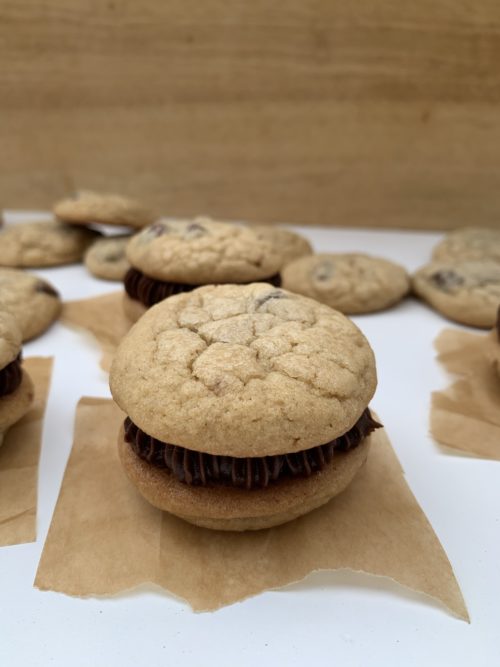
Peanut Butter Blondies are one of my favorites. They are so soft and gooey! Just add chocolate chips and they are top notch!

- Line a 9×13 pan with tin foil, spray with parchment paper. Set aside.
- Melt the butter in a medium sized bowl.
- Add the brown sugar to the melted butter. Mix well.
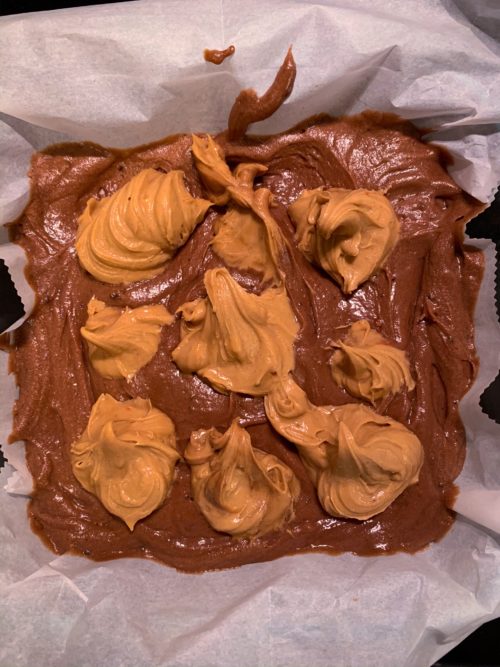
- Add peanut butter. Mix well.
- Add in the eggs and vanilla. Mix well.
- Add in the salt, baking powder, and flour. Mix until just combined.
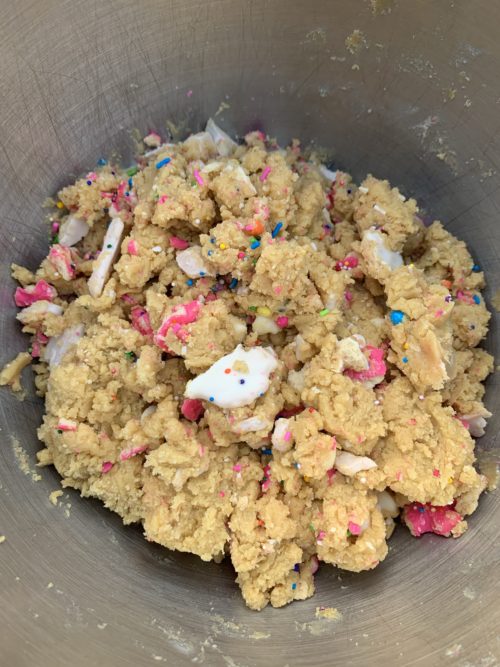
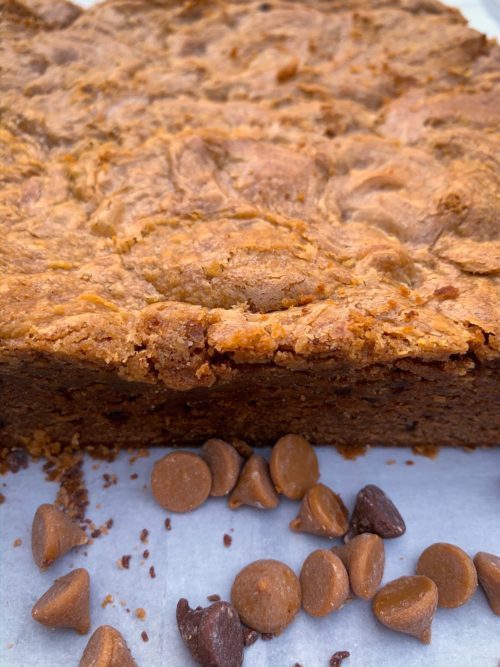
- Stir in the chocolate chips.
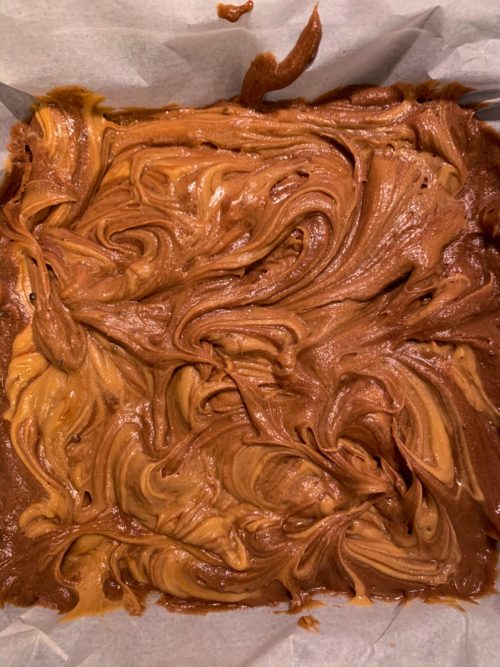
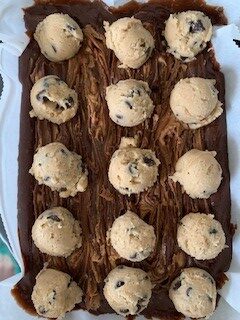
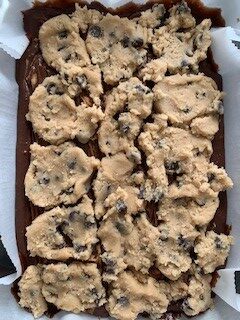
- Pour the batter into the prepared 9×13 pan. Spread to cover the bottom of the pan.
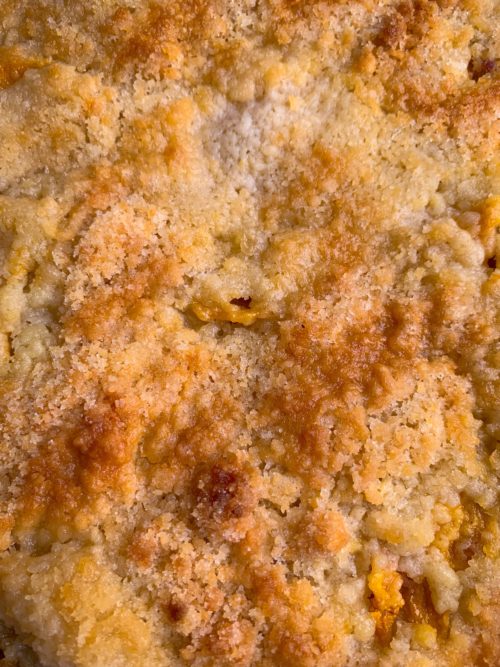
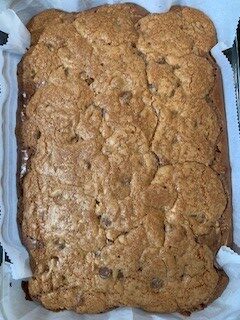
- Bake at 350° for 30 minutes or until barely golden brown. DO NOT OVER BAKE.

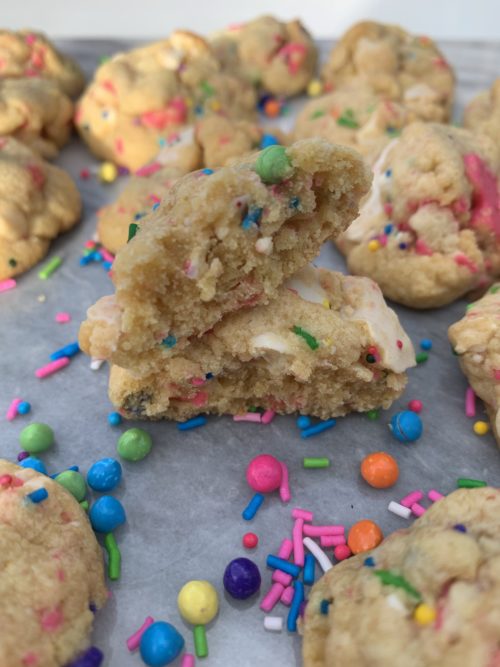
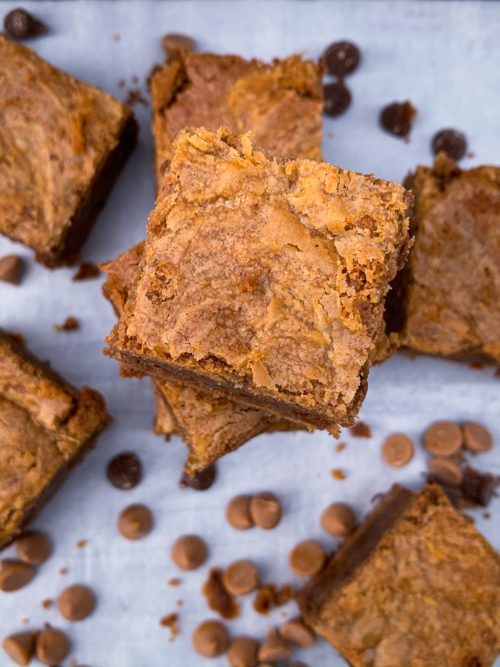
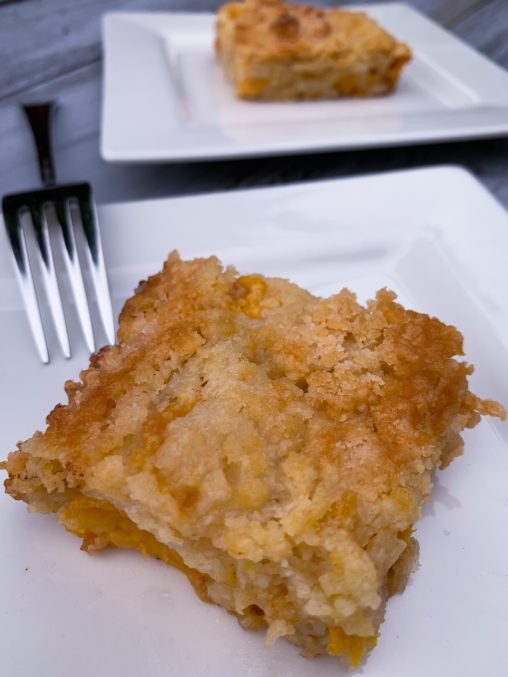
After they cool cut into squares.

Let cool on wire rack.

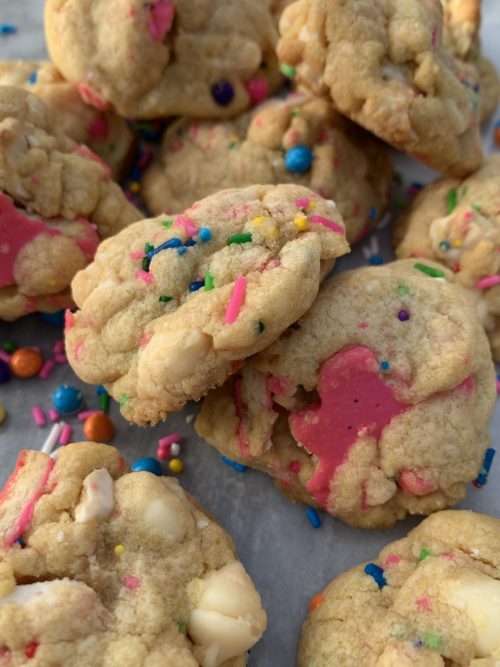
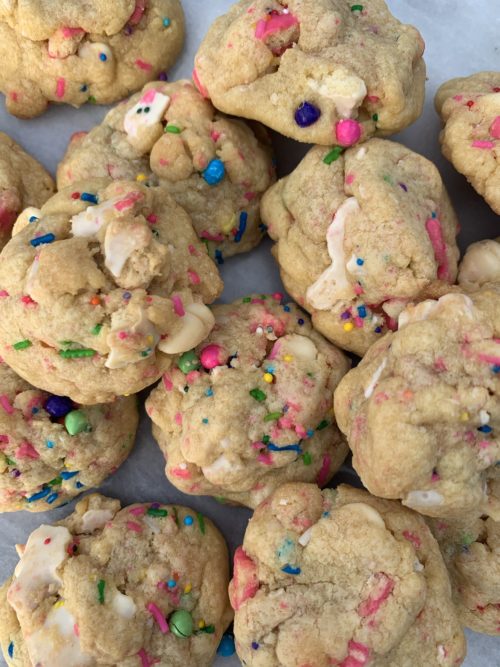
Serve when cool. I wrapped them all up and took them to work. Everyone loved them! I love to package my baked goods. They are so cute with a ribbon or string of any kind.

Peanut Butter Blondies
Ingredients
- 3/4 cup butter melted
- 2 cups brown sugar
- 3/4 cup peanut butter
- 2 eggs + 1 extra egg yolk
- 1 tbsp vanilla
- 1 tsp salt
- 1 tsp baking powder
- 2 cups flour
- 1/2 cup chocolate chips
Instructions
-
Preheat oven to 350°. Line a 9x13 pan with tin foil, spray with parchment paper. Set aside.
-
Melt the butter in a medium sized bowl.
-
Add the brown sugar to the melted butter. Mix well.
-
Add peanut butter. Mix well.
-
Add in the eggs and vanilla. Mix well.
-
Add in the salt, baking powder, and flour. Mix until just combined.
-
Stir in the chocolate chips.
-
Pour the batter into the prepared 9x13 pan. Spread to cover the bottom of the pan.
-
Bake at 350° for 30 minutes or until barely golden brown. DO NOT OVER BAKE.
-
Remove from the oven, cool completely. Pull the blondies out of the pan using the parchment paper once completely cool. Slice and serve.

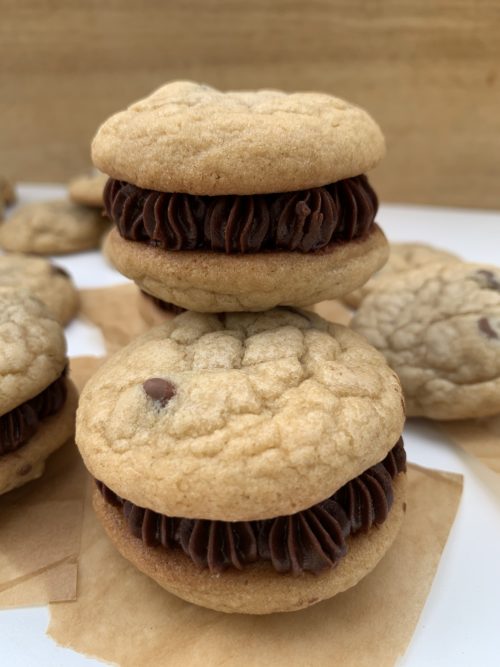
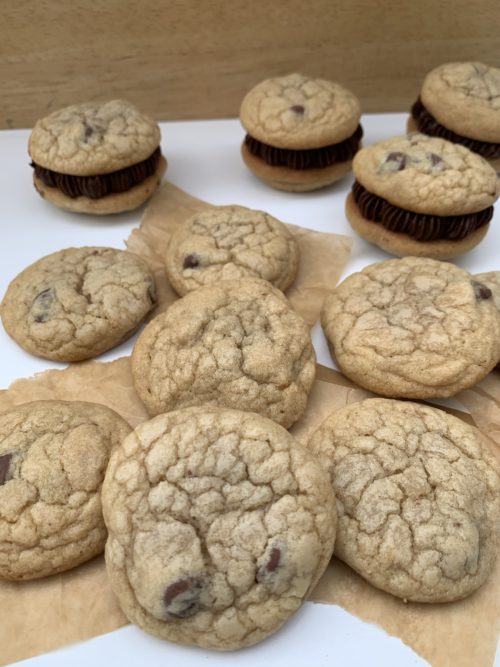

 Using a handheld or stand mixer fitted with a paddle attachment, cream butter and oil until smooth on medium speed. Beat in sugars. Add egg and egg yolk and vanilla, then beat on medium-high speed until combined.