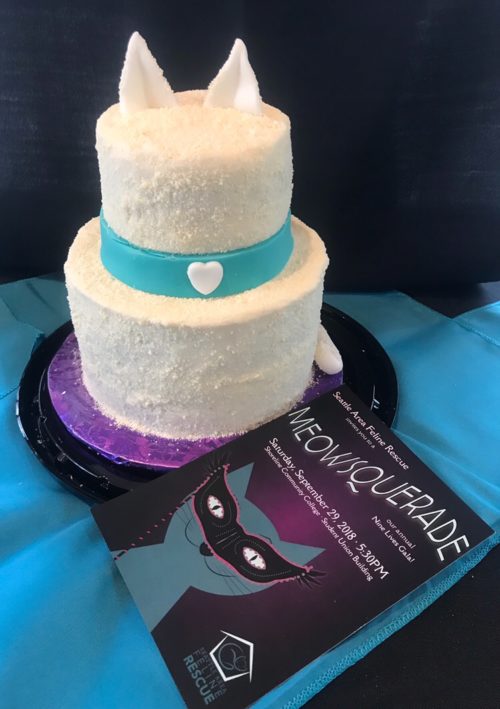
In a previous post when I posted my White Chocolate Raspberry Cake I mentioned I was making a cat cake for the Seattle Area Feline Rescue for their Nine Lives Gala. I donated this cat cake for their dessert dash. It was a fun cake to make and I’m so glad I was a part of it. I hope they raised a lot of money to save some kitties. In this post I will share how I made the cat cake.

I’ll only be sharing what equipment you need. For the cake recipe please use my White Chocolate Raspberry Cake recipe. A helpful hint when applying the white chocolate to the cake make sure you apply it right after you frost the cake. I waited too long and the white chocolate didn’t stick as well because the frosting harden up a bit.
Equipment needed:
Two 6 inch pans. I use these from Wilton
Two 4 inch pans. I use these from Wilton
Fondant for the ears, tail and collar.
Fondant Heart cut and press for the collar. You can use any decorations you want for the collar.
Fondant roller or rolling pin. I suggest using the fondant rolling pin since it’s a lot easier to use and the fondant doesn’t really stick to this.
I always like to buy from Hobby Lobby and Joann Fabrics because they have daily coupons that I use for 40 – 50% off one regular priced item. You need to download their app on your phone. Sometimes Amazon is still cheaper. I’m a bargain shopper!
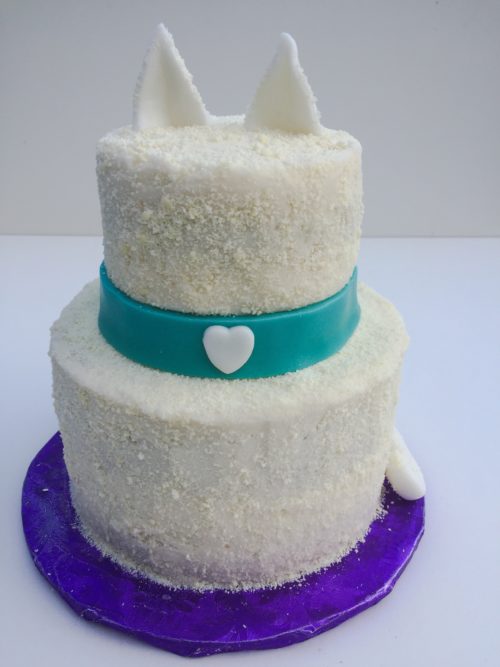
When rolling out the fondant roll it out to a 1/4 inch thick. For the ears I cut out two triangles that were a little more round. Press the triangles together and unfold them to get a crease in the middle of the ears. Cut slits on the top of the cake as the same size of the ears and attach the ears to the top of the cake. The slits help the ears stay in place so they won’t fall over. I used a little bit of water on the outside of the ears and sprinkled them with white chocolate to give them some texture.
Cut a one inch strip of colored fondant and wrap it around the second layer of the cake for the collar. Punch out a heart from the fondant and attach it to the collar. If the heart doesn’t stick to the collar use a little bit of water so it sticks to the collar.
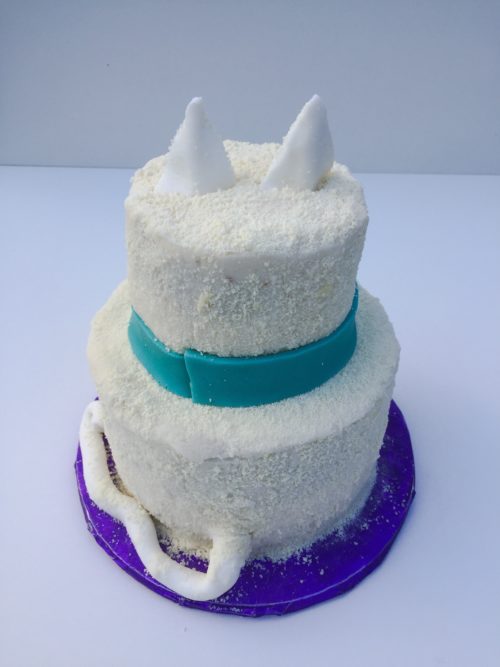
For the tail use your imagination. All I did was roll the fondant in a strip and I wrapped it around the cake and added some bends and curl to the end of the tail. To attach the tail cut out a circle in the back of the cake and stick the tail in the circle of the cake. Apply more frosting around the tail to make sure it doesn’t move. Add more white chocolate if needed. Here’s a picture for your reference. It’s not perfect but it worked!

Here is more of a side view of the cake so you can see more of the tail.

I’m so happy that I could contribute for such a good cause! Who doesn’t love kitties and cat cakes?!


