• Skip to primary navigation
  • Skip to main content
  • Skip to primary sidebar
  • Skip to footer
  • Home
  • Recipes
  • Hiking
  • Contact

Holly in the PNW

The girl that can't sit still!

Archives for October 2018

Halloween Candy Cookies

October 30, 2018

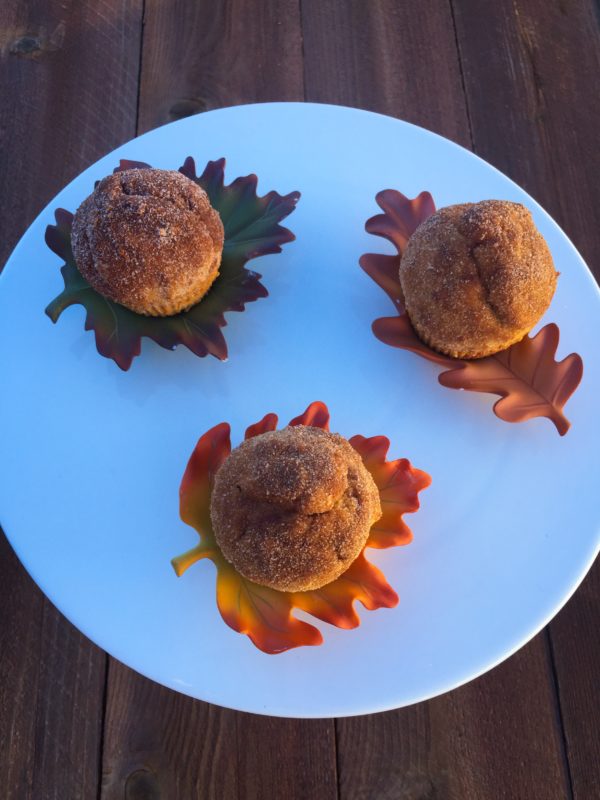
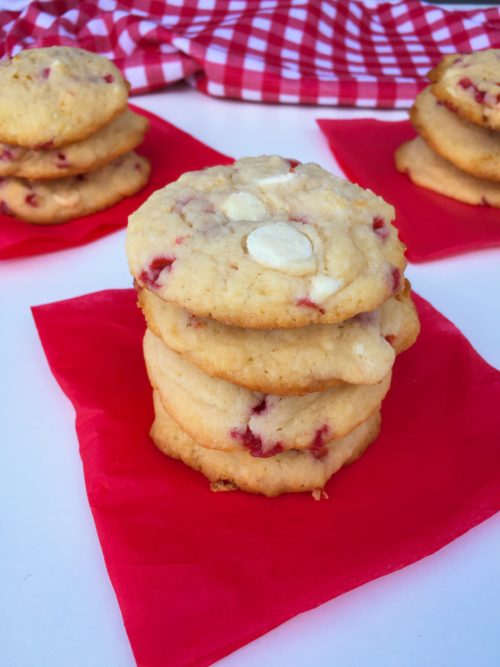
What should you do with all your kids Halloween candy or that left over Halloween candy that you didn’t hand out?!? Make Halloween Candy Cookies of course!

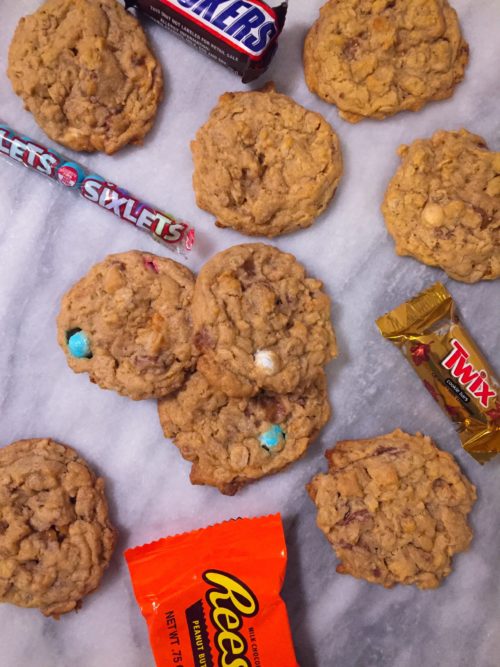
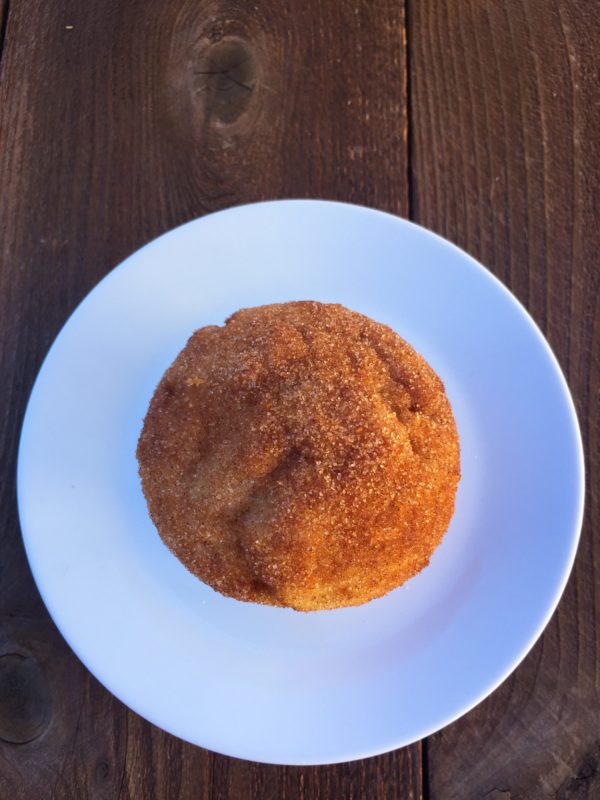
These cookies have everything but the kitchen sink in them and they are so good! You can use any candy you want. Just throw it all in to make these delicious Halloween candy cookies. On top of all the candy you add peanut butter and oatmeal. My on my! Yummy!

I used Twix, Snickers, Reese’s and Sixlets. I grew up on Sixlets and they are my favorite candies. All my friends know this and when they find a good deal they snag them for me. (Check out the dollar store if you like Sixlets). I have great friends that care about my Sixlets addiction. M&M’s work great in the Halloween Candy Cookies. Each bite is different and you won’t regret making these fun cookies. People will come back for second and thirds! Enjoy!

Print

Halloween Candy Cookies

Course Cookies, Dessert
Keyword Halloween Candy Cookies
Prep Time 25 minutes
Cook Time 10 minutes
Total Time 30 minutes
Servings 36 cookies

Ingredients

Ingredients

  • ½ cup unsalted butter room temperature
  • ½ cup creamy peanut butter
  • 1 cup brown sugar
  • 1 large egg room temperature
  • ¾ cup all-purpose flour
  • 1 tsp baking soda
  • 1 tsp cornstarch
  • ¼ tsp baking powder
  • ¼ tsp salt
  • 1 ½ cups old-fashioned oats
  • 2 cup of assorted candies (use more if you want)

Instructions

Instructions

  1. Preheat oven to 350º degrees (F). Prepare the cookie sheet with parchment paper, a silicone mat or spray the pan with non-stick spray.

  2. Chop candy into small pieces.

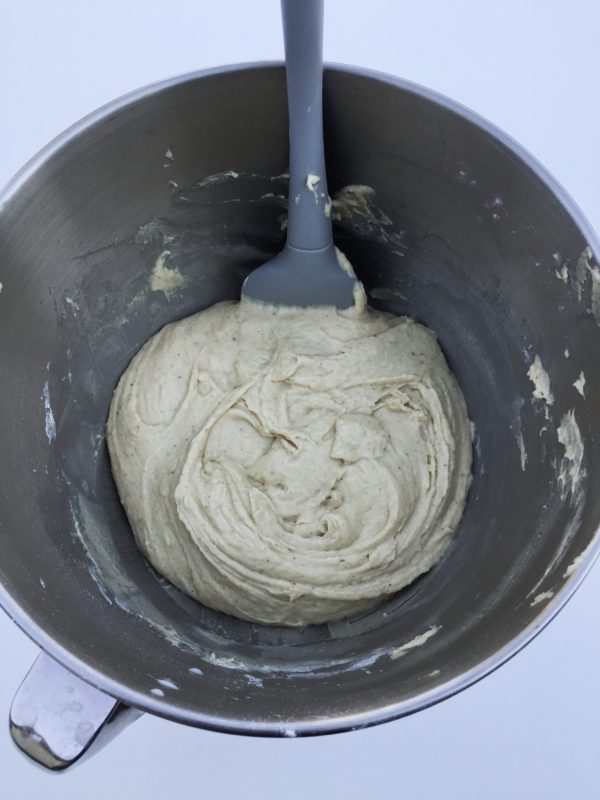
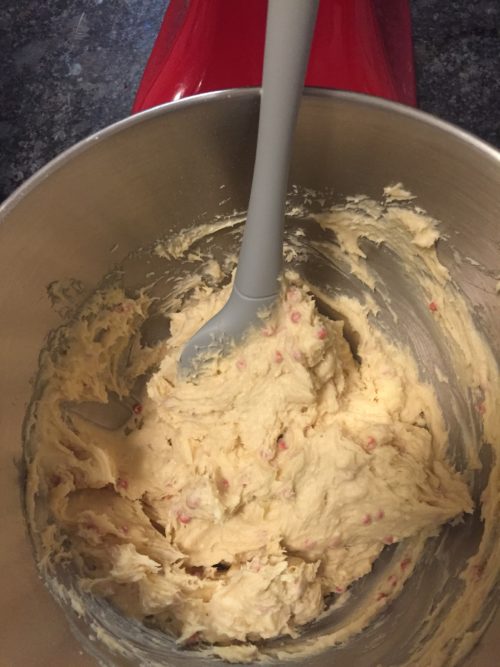
  3. In a stand mixer use the paddle attachment  Cream together the butter, peanut butter and brown sugar until light and fluffy, about 2-3 minutes.

  4. Add in the egg on low speed.

  5. In a separate bowl, sift together flour, baking soda, cornstarch, baking powder, and salt. 

  6. Slowly add the flour mixture to the wet ingredients and mix until just combined.
  7. Stir in the oats and all candies by hand.
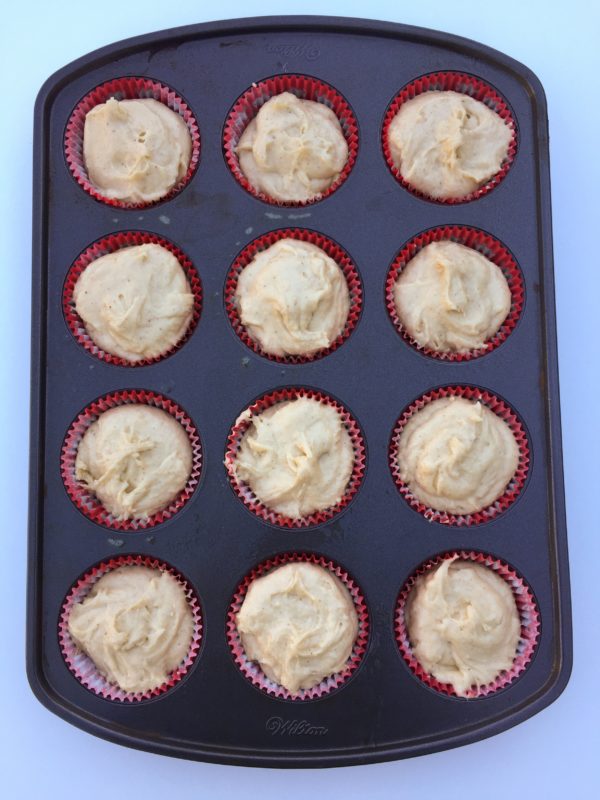
  8. Using a cookie scoop (2-3 tablespoons), scoop out cookie dough into balls. Place on baking sheet. I placed 12 on each sheet. 

  9. Bake the cookies for 8-10 minutes until the edges are just starting to brown and the top still looks slightly undercooked.
  10. Remove from the oven and cool for 5 minutes on the baking sheet before moving them to a wire rack to cool completely.

Filed Under: Cookies, Desserts

Cinnamon Sugar (Doughnut) Muffins

October 18, 2018

These Cinnamon Sugar (Doughnut) Muffins are cake like and they taste like a donut. I love cinnamon sugar so why not make a muffin and top it off with a good amount of cinnamon sugar. They are very filling and satisfying! Get a large cup of milk or coffee first thing in the morning and devour these cinnamon sugar (doughnut) muffins.

Rush into the kitchen and get started!!!!

In a medium-sized mixing bowl, cream together the butter, vegetable oil, and sugars till smooth. Add the eggs, beating to combine. Stir in the baking powder, baking soda, nutmeg, salt, and vanilla. Stir the flour into the butter mixture alternately with the milk, beginning and ending with the flour and making sure everything is thoroughly combined.

Line cupcake pan and spray the liners with non-stick spray. Spoon the batter evenly into the prepared pan, filling the cups nearly full. 

Bake the muffins for 15 to 17 minutes, or until they’re a pale golden brown and a cake tester inserted into the middle of one of the center muffins comes out clean.

Remove them from the oven, and let them cool for a couple of minutes, or until you can handle them. While they’re cooling, melt the butter for the topping (this is easily done in the microwave). Remove the paper liners. Dip the top of the muffin into the butter. Make sure to coat the whole top of the muffin in the butter. Roll the top of the muffin into the cinnamon sugar.

Serve the cinnamon sugar (doughnut) muffins  warm or store in an airtight container.

ENJOY!!!!

Print

Cinnamon Sugar ( Doughnut) Muffins

Course Dessert
Keyword Cinnamon Sugar (Doughnut) Muffin
Prep Time 20 minutes
Cook Time 15 minutes
Total Time 35 minutes
Servings 12 muffins

Ingredients

BATTER

  • 1/4 cup butter
  • 1/4 cup vegetable oil
  • 1/2 cup granulated sugar
  • 1/3 cup brown sugar
  • 2 large eggs
  • 1 1/2 tsp baking powder
  • 1/4 tsp baking soda
  • 1 tsp ground nutmeg
  • 3/4 tsp salt
  • 1 tsp vanilla extract
  • 2 2/3 cups unbleached all-purpose flour
  • 1 cup milk

TOPPING

  • 3 tbsp melted butter
  • 3 tbsp cinnamon sugar

Instructions

INSTRUCTIONS

  1. Preheat the oven to 425°F. Line a cupcake pan and lightly grease the liners with non-stick spray. This will ensure that they peel off the muffins nicely.

  2. In a medium-sized mixing bowl, cream together the butter, vegetable oil, and sugars till smooth.
  3. Add the eggs, beating to combine.
  4. Stir in the baking powder, baking soda, nutmeg, salt, and vanilla.
  5. Stir the flour into the butter mixture alternately with the milk, beginning and ending with the flour and making sure everything is thoroughly combined.
  6. Spoon the batter evenly into the prepared pan, filling the cups nearly full.
  7. Bake the muffins for 15 to 17 minutes, or until they're a pale golden brown and a cake tester inserted into the middle of one of the center muffins comes out clean.
  8. Remove them from the oven, and let them cool for a couple of minutes, or until you can handle them. While they're cooling, melt the butter for the topping (this is easily done in the microwave).
  9. Dip the top of the muffins into the melted butter, then roll in the cinnamon-sugar.

  10. Serve warm, or cool on a rack and wrap airtight. Store for a day or so at room temperature.

Recipe Notes

You can substitute whole wheat flour instead of regular flour. I made them with whole wheat flour as well and it will work with this recipe. 


Filed Under: Breakfast, Cupcakes, Desserts

White Chocolate Raspberry Cheesecake Cookies

October 7, 2018

I remember years ago I was at Subway and I had one of their White Chocolate Raspberry Cheesecake Cookies. I couldn’t believe how much I loved this cookie on the very first bite. I was determined to make these cookies. The first time I made them I knew I had a winner of a cookie.  They are so soft and fluffy! They are like mini cakes inside.

The secret ingredient to these cookies is “Jiffy” raspberry muffin mix.

Mix the butter, cream cheese, shortening and brown sugar together. Add the eggs, muffin mix and flour. Stir in white chocolate chips.  Cool cookie batter in the refrigerator for 30 minutes before baking.

Roll the batter into 1 inch balls on a greased cookie sheet. I use parchment paper and lightly grease the parchment paper either method works great. I use a cookie scoop to roll the balls. Here is a similar one that I use. Preheat oven to 350 degrees and bake for 10-12 minutes or until golden brown. In between batches store the extra batter in the refrigerator.

If you love these White Chocolate Raspberry Cheesecake Cookies tell your friends or stop going to Subway to buy them and make them yourself. Enjoy!

Print

White Chocolate Raspberry Cheesecake Cookies

Course Dessert
Keyword White Chocolate Raspberry Cheesecake Cookies
Prep Time 20 minutes
Cook Time 12 minutes
Resting Time 30 minutes
Total Time 32 minutes
Servings 30 cookies

Ingredients

Ingredients

  • 4 ounces cream cheese softened
  • 1/2 cup (1 stick) butter softened
  • 2 tbsp shortening
  • 1/2 cup brown sugar
  • 2 eggs
  • 2 - 7 ounce boxes Jiffy raspberry muffin mix
  • 1/2 cup all-purpose flour
  • 1 1/2 cup white chocolate chips

Instructions

Instructions

  1. Beat together with paddle attachment cream cheese, butter, shortening and brown sugar in a large mixing bowl until combined. Add eggs one at a time beating after each one.

  2. Mix in muffin mix and flour until just combined. Add white chocolate chips and stir until incorporated.
  3. Chill dough in the refrigerator at least 30 minutes.
  4. Preheat oven to 350 degrees. Line baking sheet with parchment and lightly spray with grease or lightly grease baking sheets.

  5. Scoop cookie dough mix into 1 inch balls onto baking sheets. Bake 10-12 minutes or until golden brown on edges.

  6. In between baking batches of cookies make sure to store the dough in the refrigerator.


Filed Under: Cookies, Desserts

Monster Cake

October 6, 2018

This would be the perfect cake to add to a Halloween party. How cute is this Monster Cake?!

I got to make this cake for a one year old birthday a few weeks ago and I think it would be great for Halloween too! Little Andrew destroyed the cake. He loved every bit of the Monster Cake!

To begin you will need two round 8 inch pans. Spray the bottom of the pans with nonstick already. Cut out parchment paper and lay it at the bottom of the pans. Spray the parchment paper. This helps the cake to release easily from the pans.

Make your batter from any cake mix. I decided to use a boxed cake cause Andrew was going to destroy the cake anyway. Bake the cake per instructions on the box. Let the cake cool before frosting. Make the frosting while the cakes are cooling. You can use paste or food coloring to add to the frosting. Use any color!

When the cakes are completely cooled cut the top of the cakes off so you have a flat surface on each cake. Take one cake and cover the top with frosting. Add the second cake to the top of the other frosted cake. Cover the cake with frosting. It doesn’t need to be perfect.

Cut out the smile for the cake from black fondant and apply it to the front of the cake.

At this point you’ll start to pipe the fur so it becomes a monster. Don’t be scared it’s easy! Using a Wilton 233 M tip and a piping bag, fill the bag half full of buttercream frosting. Pipe and pull at different lengths, in rows starting at the bottom of the cake and work your way up while frosting. This will give the fur a shaggy look. Go around the whole cake. When you get to the top do the same method but only go around the edge one row at a time.

Once you finish frosting the cake make the eyes. Roll white fondant in a ball and add black circles to the eyes. Stick a lollipop stick in the bottom middle of the eyes. Stick them into the top of the cake whenever you want. Roll out white fondant for the two teeth and cut out two small squares. Attach the two squares to the mouth.

Showing is the Wilton tip 233 M, the eyes for the cake and a fondant roller I used to roll of the middle of the eyes and mouth.

Your cake is now complete! I also made mini cupcakes for the adults to eat and added sugar eye balls to the tops. I used black icing for the mouths on the cupcakes.

The cake destroying was the best part of the day from Andrew. He loved it! This was his first little nibble and he was trying to figure it out.

Pretty sure he realized at this point he loved the Monster Cake!

He destroyed almost the whole thing. Great job for a one year old!


Filed Under: Cakes, Desserts

Primary Sidebar

Hello and Welcome

Hi! I'm Holly and welcome to my personal blog and thank you for taking the time to look through my recipes and hiking adventures. I hope you enjoy them as much as me. Stay connected to see upcoming blog posts! I'm excited to have you join!

Recent Posts

  • Chicken Tortilla Soup
  • Beef Bowls
  • Ice Cream Sandwiches
  • Mint Chocolate Delights
  • Peanut Butter Cookies

Archives

  • August 2022
  • April 2022
  • February 2022
  • January 2021
  • May 2020
  • April 2020
  • February 2020
  • November 2019
  • October 2019
  • August 2019
  • July 2019
  • June 2019
  • May 2019
  • April 2019
  • March 2019
  • February 2019
  • January 2019
  • December 2018
  • November 2018
  • October 2018
  • September 2018
  • August 2018
  • July 2018
  • June 2018
  • May 2018

Categories

Don’t Miss These!

Mini Pretzel Bites with Cheese Sauce

Chocolate Nutella Cupcakes

Valentine Vanilla Cake Pops

Blackberry Pie Bars

Most Popular Recipes

Easy Deviled Eggs

Lemon Orzo Chickpea Salad

Footer

My Favorites

stay connected

  • Facebook
  • Instagram
  • Pinterest

Don’t miss a recipe or an adventure!

Copyright© 2023 · Brunch Pro Theme by Feast Design Co.