If you know me then you know I love bananas! I recently had a birthday and one of my girlfriends decided to buy me a large bunch of bananas as a gag gift. It was perfect, but I couldn’t eat them fast enough so I got to make Banana Bread! Over ripe bananas are perfect for this easy to make banana bread.

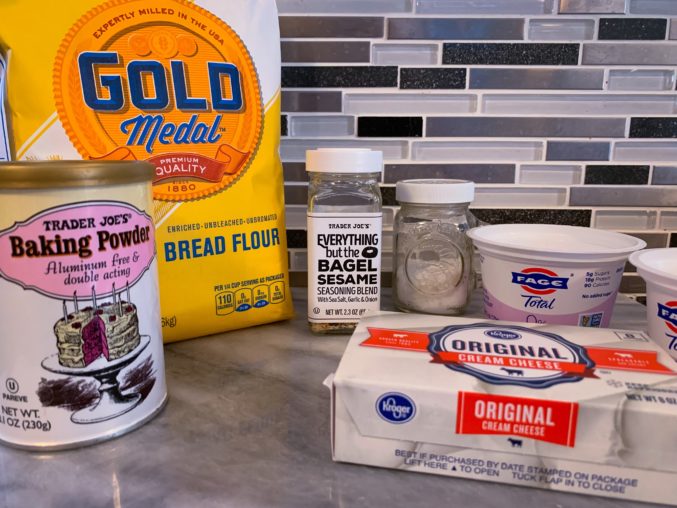
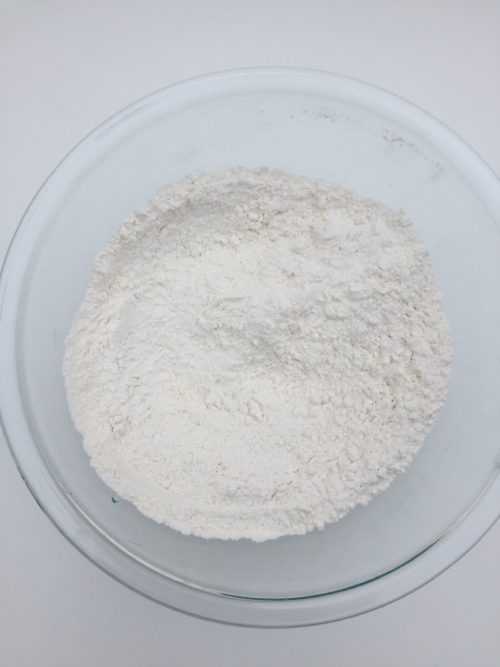
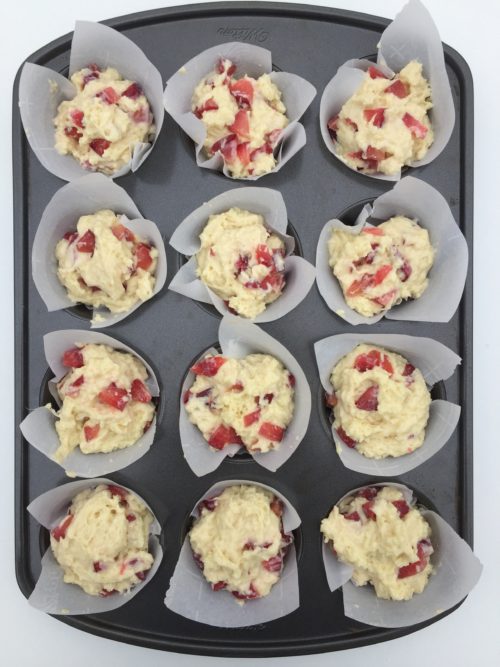
All you need is a bowl and a mixer to whip this banana bread right up! Grab the butter, sugar, eggs, mashed bananas, vanilla, flour and baking soda.
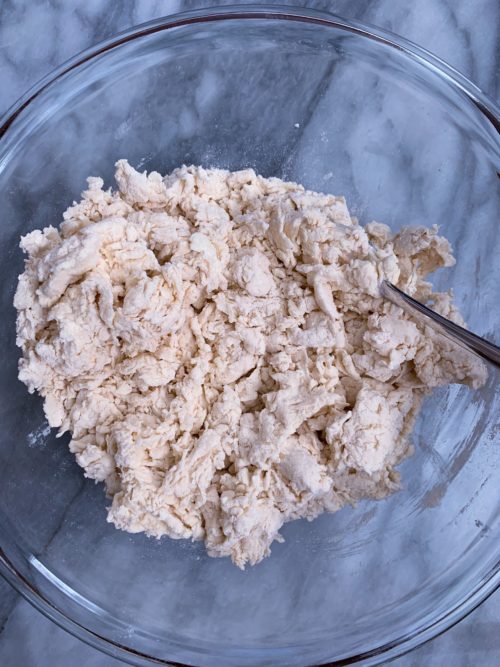
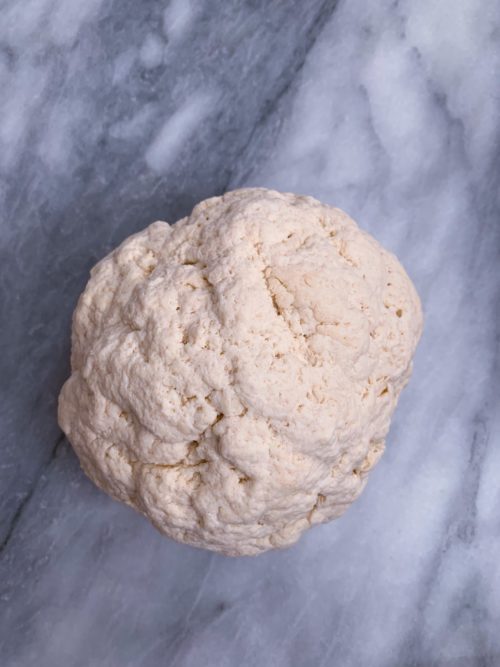
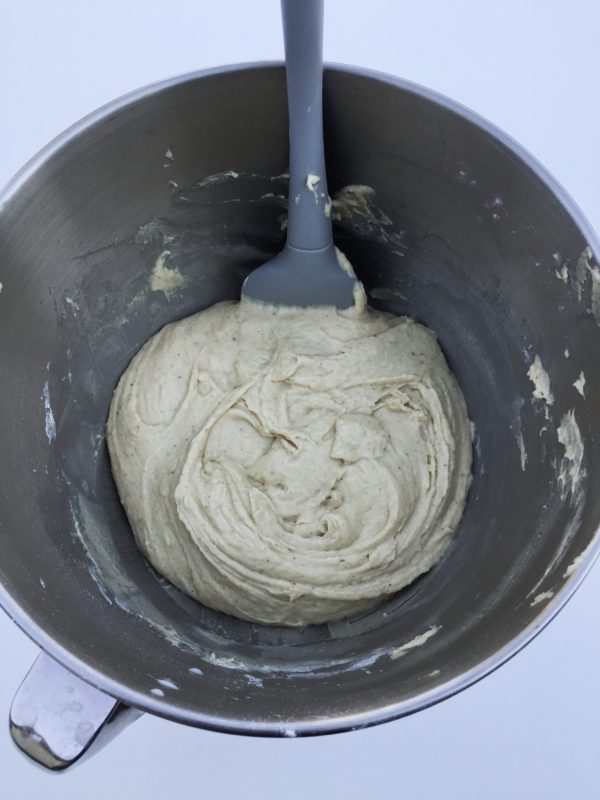
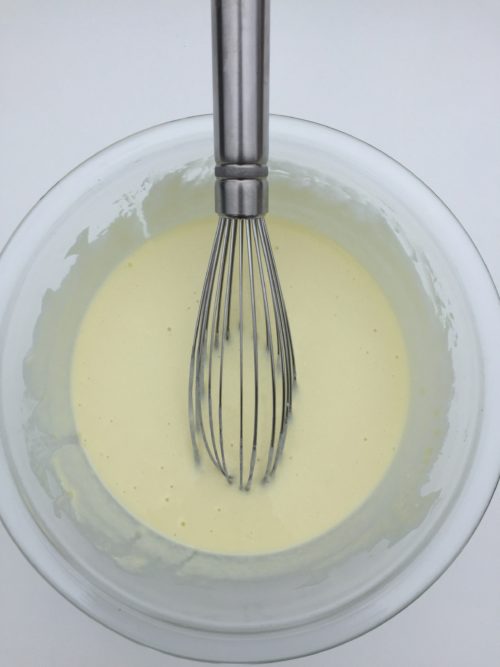
Cream butter and sugar until smooth. Beat in eggs, vanilla and then bananas. Add flour and soda, stirring just until combined.
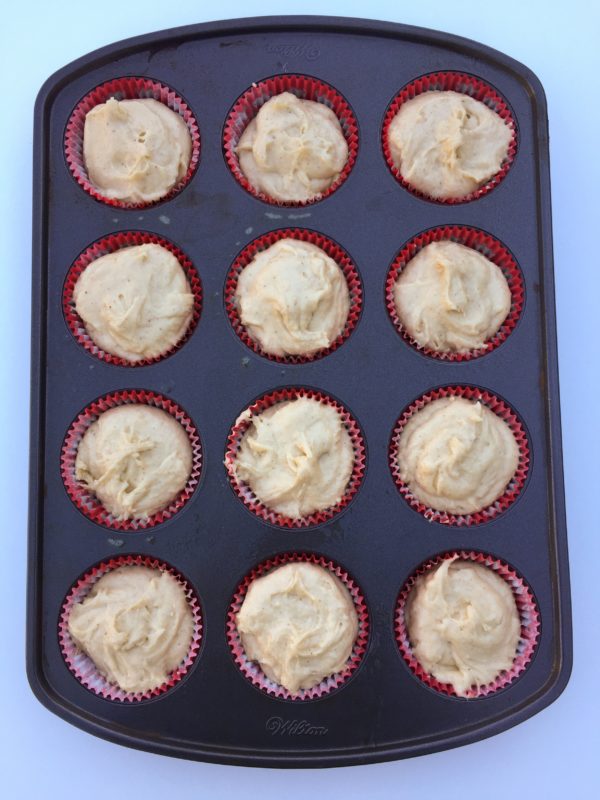
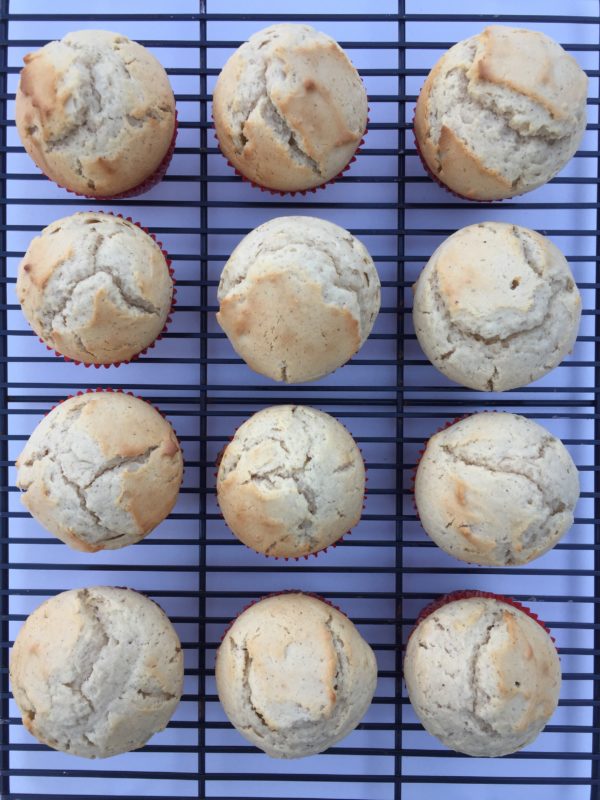
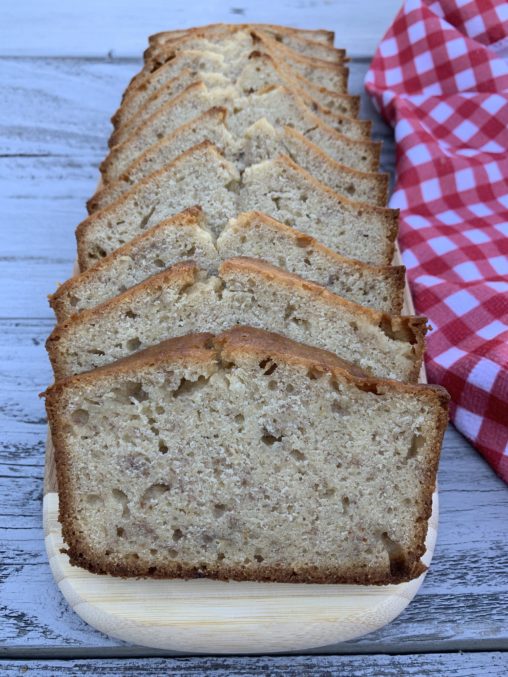
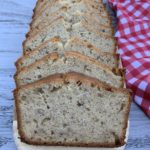
Pour into prepared pan and bake at 350 degrees F (175 degrees C) for about 1 hour (or till toothpick comes out clean). If the bread is not done place tin foil over bread and cook in 5 minute increments until done. Remove from pan and let cool, store in refrigerator or freeze.
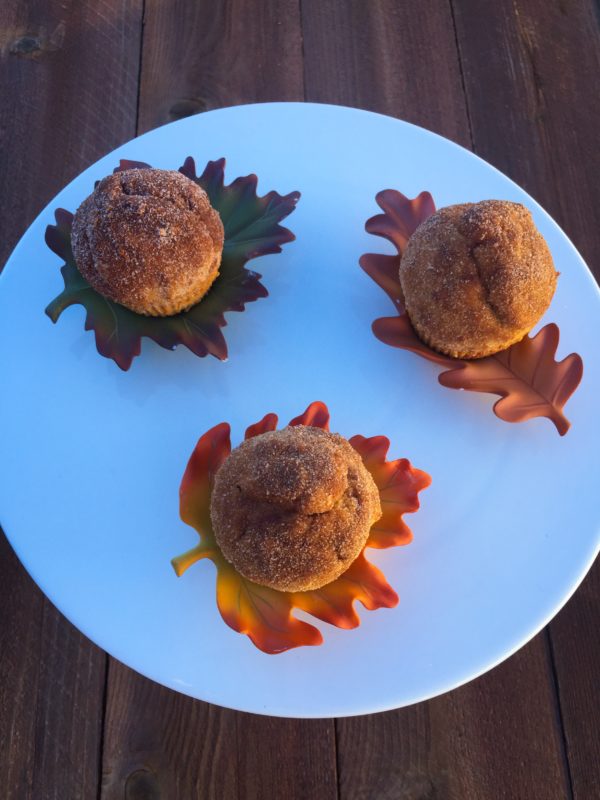
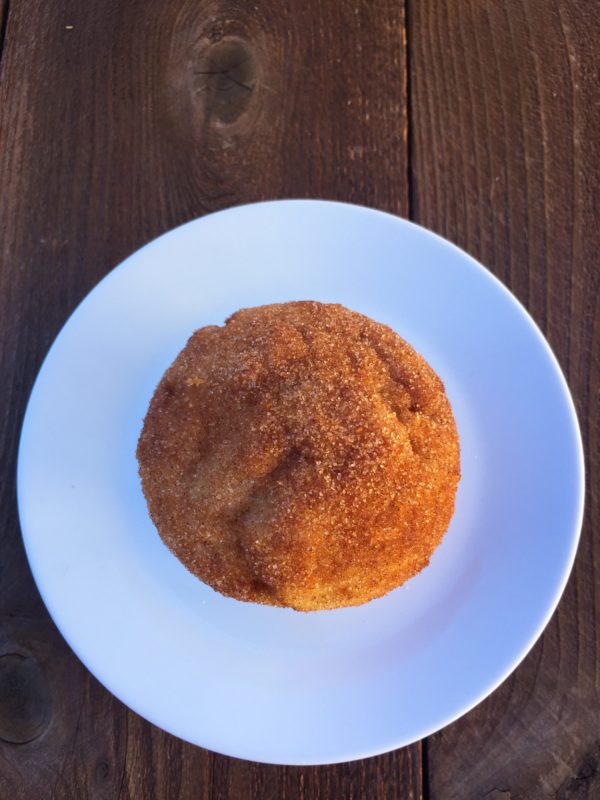
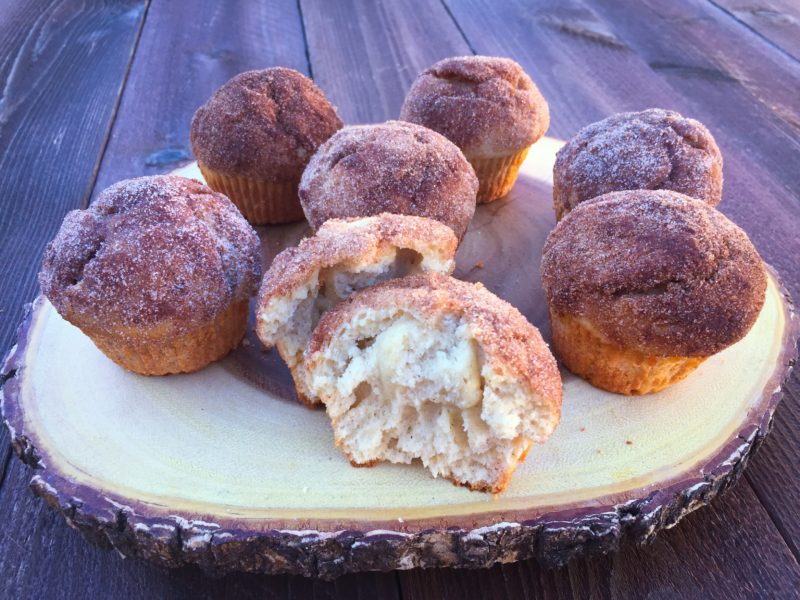
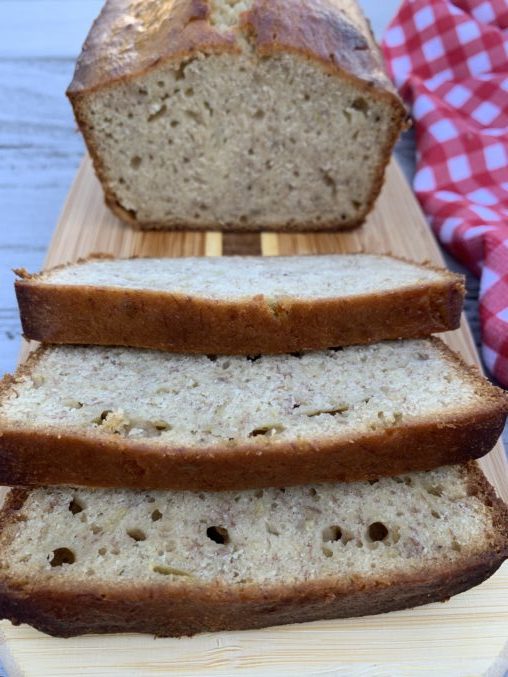
Slice up the bread and serve it warm. Top with butter if desired. Eating this banana bread warm with a cup of coffee could make for one of the best mornings ever!
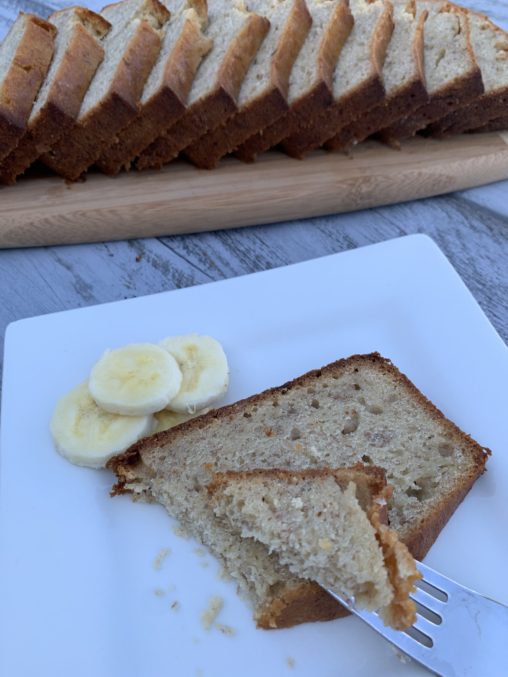
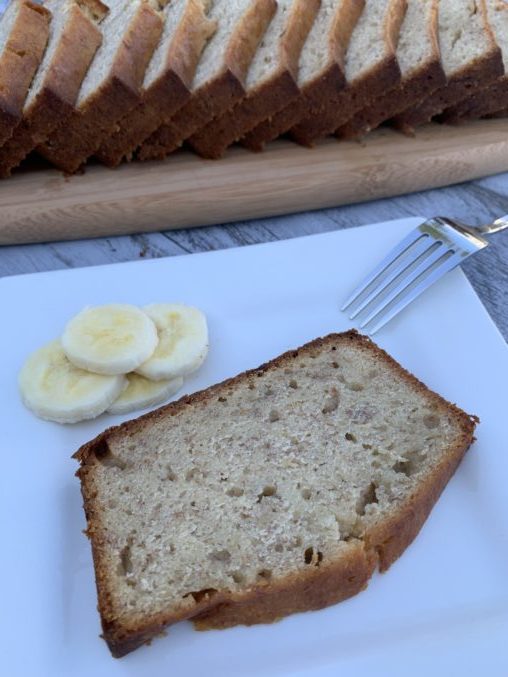
Dig in! Enjoy!!!
Banana Bread
Ingredients
- 1/2 cup unsalted butter softened
- 1 cup white sugar
- 2 eggs
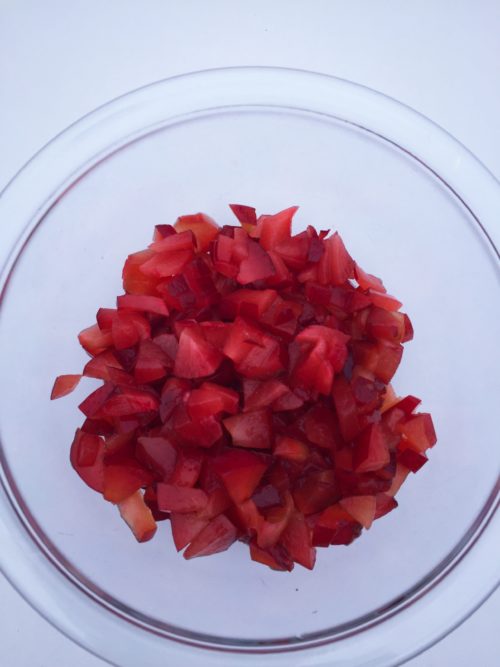
- 1 1/2 cups mashed bananas about 3 bananas
- 1 tsp vanilla extract
- 2 cups all-purpose flower
- 1 tsp baking soda
Instructions
-
Preheat oven to 350 degrees F (175 degrees C). Grease and flour one 9x5 inch pan.
-
Cream butter and sugar until smooth. Beat in eggs, vanilla and then bananas. Add flour and soda, stirring just until combined.
-
Pour into prepared pan and bake at 350 degrees F (175 degrees C) for about 1 hour (or till toothpick comes out clean). If you need to cook longer than an hour place tin foil over bread and bake in 5 minute increments. Remove from pan and let cool, store in refrigerator or freeze.