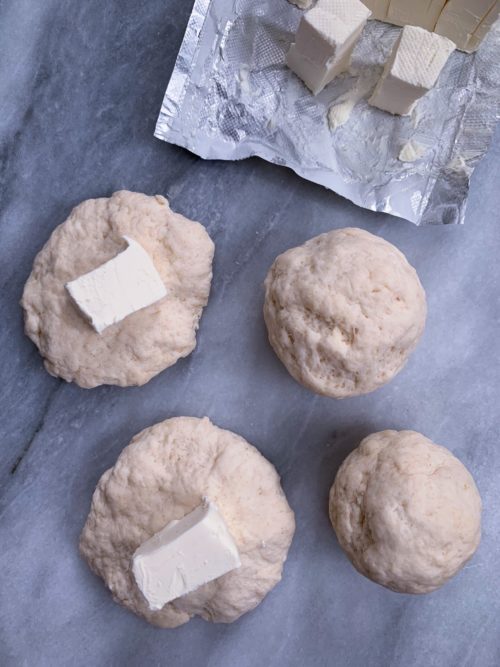
Making sourdough focaccia isn’t just about the delicious outcome; it’s an experience.
The process of nurturing a sourdough starter and watching your dough rise is deeply satisfying. The tangy flavor of sourdough pairs perfectly with the richness of olive oil, fresh rosemary and the crunch of sea salt. Plus, it’s a great way to impress your friends and family with your baking skills.
Bread-making like this is not just about the taste it’s about creating something from scratch with your own hands, which is so rewarding. So really, why not make it?
Here’s a recipe that should make your kitchen smell amazing.
Let’s get started! Don’t let the recipe give you anexity on how long it will take. Be patient and you will be thankful.

- Bread Timeline example:
- Thursday night: Remove starter from fridge and feed. I always feed it with 4 ounces flour and a half cup filtered water.
- Friday: Leave on counter
- Saturday morning: Remove the amount of starter you need to make the dough. Make the dough and let it rise the first time.
- Sunday morning or afternoon: Do the second rise in the 9×13 pan. Follow instructions.
- Monday morning or afternoon: Assemble the focaccia and bake the bread.
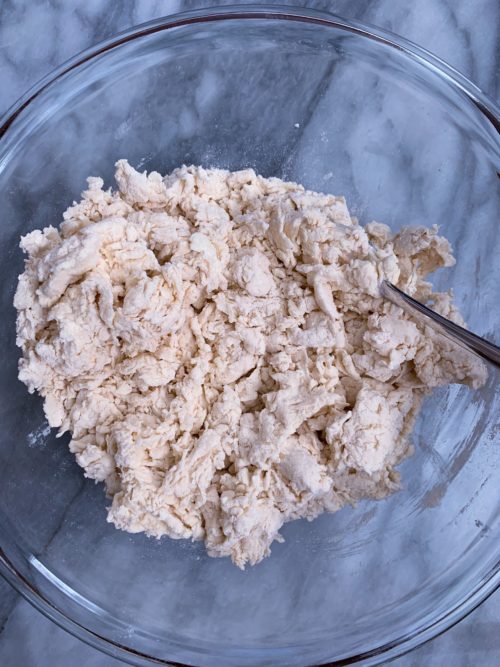
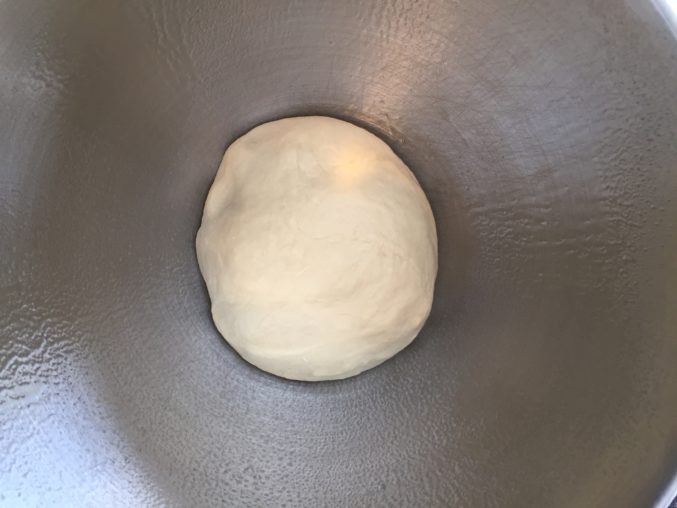
Whisk the starter, water, and honey in a large bowl. Add the flour and salt. Mix with a fork and then continue to combine with your hands until the flour is absorbed.
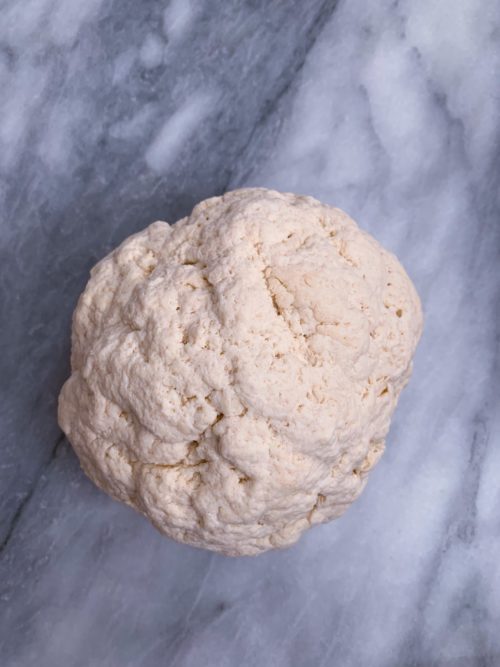
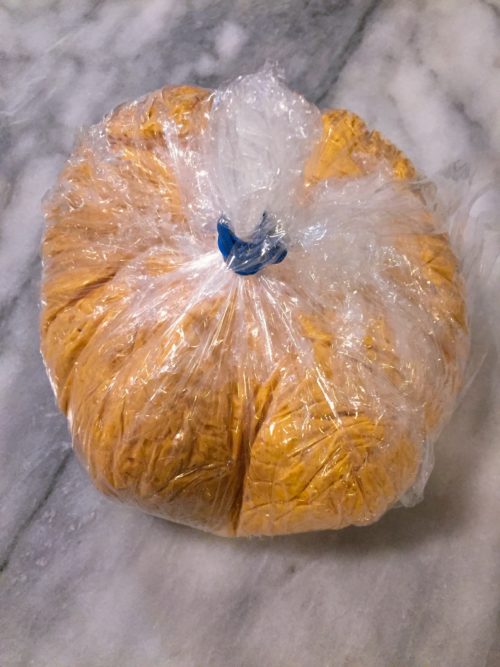
Bulk Rise: Cover the bowl with plastic wrap and let rise overnight, at room temperature, about 12-18 hours. The dough is ready when it no longer looks dense and has doubled in size and look stringy. There may also be bubbles on the surface as well. Picutred below.

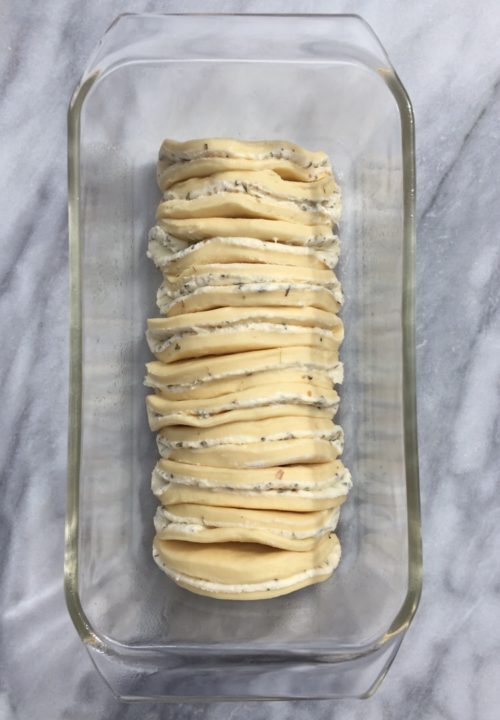
Second Rise: In your 9×13 pan pour 2 tablespoons of olive oil and spread around to coat the bottom. Dump the dough onto the pan. Turn over to coat both sides with oil. No need to stretch or spread the dough out yet. Cover the pan with plastic wrap and let rest for 1 1/2 to 2 hours until very puffy. You can let it rise overnight again which I did but not necessary.

This is what it looked like after rising overnight from the picture above.

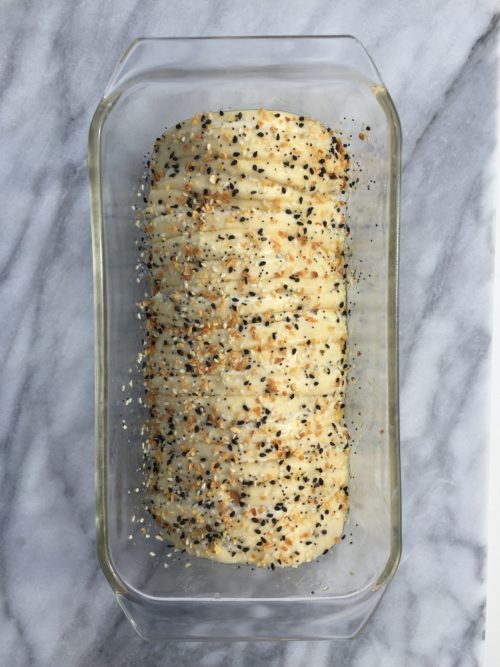
Assemble the Focaccia: Gently stretch the dough to reach the corners of the 9×13 pan. Use your fingertips to dimple the dough. Drizzle the remaining 2 tablespoons of olive oil and sprinkle on 2 Tablespoons of chopped fresh rosemary.

Gently press the rosemary leaves into the dough. Sprinkle with additional flaky sea salt (optional). I forgot to add it on mine but it’s make the bread even more delicious so I highly recommend the flaky sea salt.

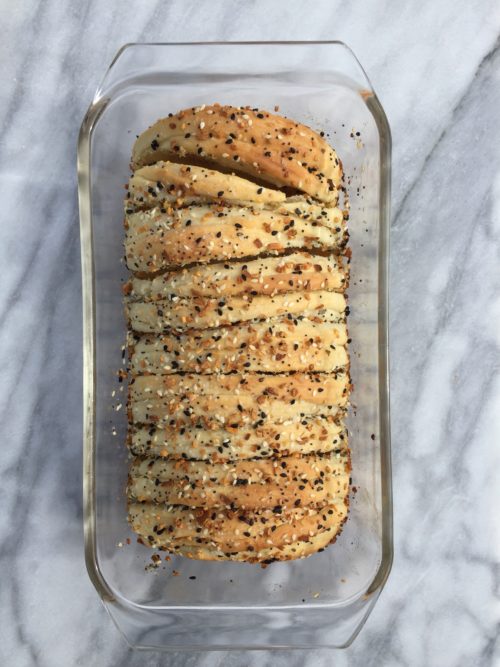
Bake: Bake the focaccia on the center rack, in a preheated 425 degrees oven, for 20-25 minutes until crispy and golden brown.

Remove from the oven and cool before cutting into wedges using a serrated knife. Serve warm is the best way to eat it!

There are many reasons why to make this sourdough focaccia bread. It’s a delightful base for endless toppings—think caramelized onions, sun-dried tomatoes, or a sprinkle of sea salt like I mentioned before. It’s versatile enough to be the star of your meal or a fantastic side with your favorite soup or any meal. And let’s not forget, baking (and eating) it is like a mini-vacation to Italy, with every bite bringing a bit of Mediterranean magic to your day.

Enjoy!!!

Sourdough Focaccia
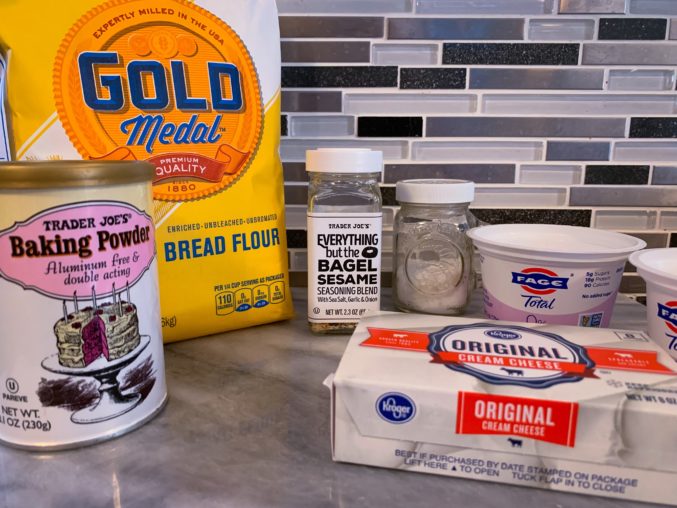
Ingredients
- 100 g 1/2 cup bubbly, active starter
- 360 g 1 1/2 cups cool water
- 21 g 1 tbsp honey
- 600 g 5 cups bread flour or italian flour
- 9 g 1 1/2 tsp salt
- 4 tbps olive oil
- 2 tbps fresh rosemary chopped
- flaky sea salt optional
Instructions
-
To make the dough:
Whisk the starter, water, and honey in a large bowl. Add the flour and salt. Mix with a fork and then continue to combine with your hands until the flour is absorbed.
-
Bulk Rise:
Cover the bowl with plastic wrap and let rise overnight, at room temperature, about 12-18 hours. The dough is ready when it no longer looks dense and has doubled in size and look stringy. There may also be bubbles on the surface as well.
-
Second Rise:
In your 9×13 pan pour 2 tablespoons of olive oil and spread around to coat the bottom. Dump the dough onto the pan. Turn over to coat both sides with oil. No need to stretch or spread the dough out yet. Cover the pan with plastic wrap and let rest for 1 1/2 to 2 hours until very puffy. You can let it rise overnight again which I did but not necessary.
-
Assemble the Focaccia:
Gently stretch the dough to reach the corners of the 9×13 pan. Use your fingertips to dimple the dough. Drizzle the remaining 2 tablespoons of olive oil and sprinkle on 2 Tablespoons of chopped fresh rosemary. Gently press the rosemary leaves into the dough. Sprinkle with additional flaky sea salt (optional).
-
Bake:
Bake the focaccia on the center rack, in a preheated 425 degrees oven, for 20-25 minutes until crispy and golden brown. Remove from the oven and cool before cutting into wedges using a serrated knife. Serve warm.
Recipe Notes
- Flour: Italian flour or bread flour is recommended, but all purpose will also work.
- Make sure your starter is active before you start. Drop a small piece in a bowl of water to see if it floats. It it does, then it’s ready! If not, then it may need 1-2 more feedings.
- Use A Kitchen Scale. For best accuracy, it’s best that you weigh your ingredients and not rely on volume (measuring cups).
- Plastic Wrap! When you let the dough rise overnight, be sure to use plastic wrap to cover it so it doesn’t dry out and not rise properly.
- Bread Timeline example:
- Thursday night: Remove starter from fridge and feed. I always feed it with 4 ounces flour and a half cup filtered water.
- Friday: Leave on counter
- Saturday morning: Remove the amount of starter you need to make the dough. Make the dough and let it rise the first time.
- Sunday morning or afternoon: Do the second rise in the 9x13 pan. Follow instructions.
- Monday morning or afternoon: Assemble the focaccia and bake the bread.