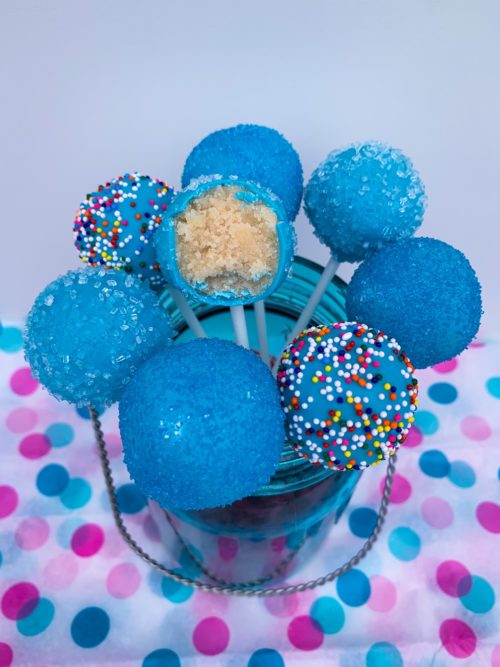
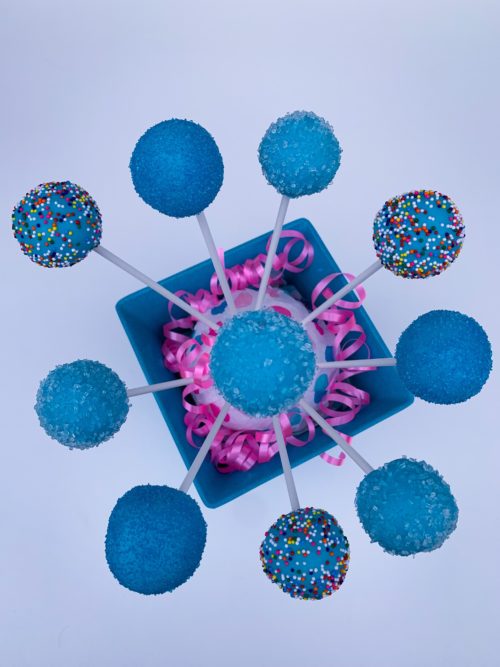
Vanilla Cake Pops are a perfect addition to your Easter celebrations. They are a must when you want to bake and you can even get your kids involved. Sprinkles galore!!! Why not dye eggs and make cake pops?!!
If you haven’t seen my Chocolate Cake Pops recipe it’s the exact same process. All you need to do is make a vanilla cake instead of a chocolate cake. I also made these Valentine day cake pops with the same recipe. This is how much I love them!
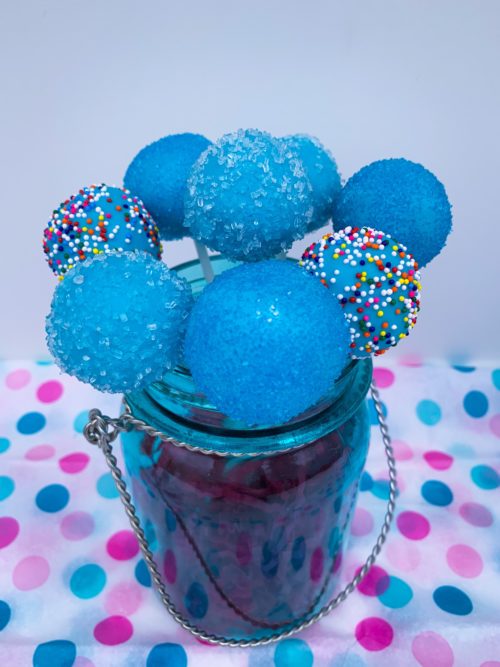
Put them on display for your family and friends at your Easter dinner and have them for dessert.
Enjoy!

Vanilla Cake Pops
Ingredients
Vanilla Cake
- 1 2/3 cups cups all-purpose flour spoon & leveled
- 1/2 tsp baking powder
- 1/4 tsp baking soda
- 1/2 tsp salt
- 1/2 cup unsalted butter softened to room temperature
- 1 cup granulated sugar
- 1 large egg at room temperature
- 2 tsp pure vanilla extract
- 1 cup 2% milk
Frosting
- 7 tbsp unsalted butter softened to room temperature
- 1 3/4 cups confectioners' sugar
- 2-3 tsp 2% milk
- 1 tsp pure vanilla extract
Coating
- 40 ounces candy melts or coating
Instructions
Vanilla Cake
-
Whisk the flour, baking powder, baking soda, and salt together in a medium bowl. Set aside. Using a handheld or stand mixer fitted with a paddle or whisk attachment, beat the butter and sugar together in a large bowl until creamed, about 2 minutes. Add the egg and vanilla extract and beat on high speed until combined. Scrape down the bottom and sides of the bowl as needed.
-
With the mixer running on low speed, add the dry ingredients and milk to the wet ingredients until combined. Make sure there are no large lumps at the bottom of the bowl. Batter will be slightly thick
-
Grease the baking pan with non-stick spray. Pour the batter evenly into the prepared 9 x 13 pan. Bake for 25-27 minutes or until a toothpick inserted in the center comes out clean. Allow the cake to cool completely in the pan; set on a wire rack.
Vanilla Frosting
-
With a handheld or stand mixer fitted with a paddle attachment, beat the butter on medium speed until creamy, about 2 minutes. Add confectioners' sugar, milk, and vanilla extract with the mixer running on low. Increase to high speed and beat for 3 full minutes.
-
Crumble the cooled cake into the bowl on top of the frosting. Make sure there are no large lumps. Turn the mixer on low and beat the frosting and cake crumbles together until combined.
-
Measure 1 Tablespoon of moist cake mixture and roll into a ball. I use a cookie scoop to measure out my ball. Place balls on a lined baking sheet. Refrigerate for 2 hours or freeze for 1 hour.
-
Melt the coating in a 2-cup liquid measuring cup (best for dunking!). Use a microwave or you can use a double boiler and pour some out at a time into the liquid measuring cup. Let the coating cool down for a few minutes before you begin dipping. If it's too hot when you dip, the coating will crack.
Coat the cake balls
-
Remove only 2-3 cake balls from the refrigerator at a time. Keep the rest cold! Dip a lollipop stick about 1/2 inch into the coating, then insert into the center of the cake ball. Only push it about halfway - 3/4 through the cake ball. Dip the cake ball into the coating until it is completely covered. Make sure the coating covers the base of the cake ball where it meets the lollipop stick. Very gently tap the stick against the edge of the measuring cup to allow excess coating to drop off. Decorate the top with sprinkles and place upright into a styrofoam block, box (flip the box upside down and poke the lollipops into the bottom of the box) or even tall shot glasses work. Repeat with remaining cake balls, only working with some out of the refrigerator at a time. The cake balls must be very cold when dipping!
-
Coating will set within an hour. Store cake pops in the refrigerator for up to 1 week. You may freeze the cake pops for up to 3 months.


