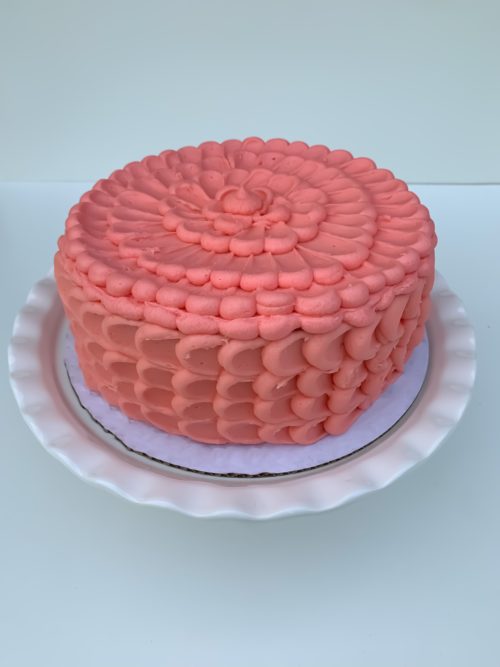
I was lucky enough to make this cake for a dear friend and I think she thoroughly enjoyed it! This would also be a great cake to make for Mother’s Day! Ombre cakes are fun to make so don’t let the design scare you. This Ombre Vanilla Cake turned out to be pretty in pink. You can add several colors for this cake design. If you have the time, it’s also really pretty when you use multiple colors!

I used the same recipe as my Naked Vanilla Raspberry Cake (minus the raspberry sauce).
To make this cake I suggest the following:
- A cake (preferably round)
- Butter cream frosting
- food coloring (I suggest gel but liquid will work too)
- piping bag
- piping tip – #12 wilton
- small offset spatula
- turn table
Add enough food coloring to your icing to achieve the color you want. Put the icing into the piping bag.
If you haven’t done this technique before I would suggest practicing on a cutting board before you start. Begin by piping four dots in a row. The dots should just touch each other and be about the diameter of a quarter (you can experiment with different sizes). Grab your offset spatula and gently bring it down onto the middle of the bottom icing dot. Press down and drag. Repeat with each dot. Scrape the excess icing off your spatula back onto the icing bowl.
Ok, let’s start the process!!!
Give your cake a crumb coat of buttercream.
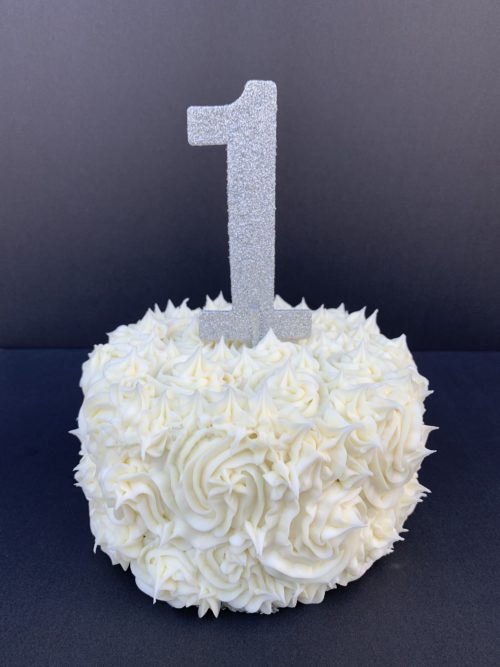
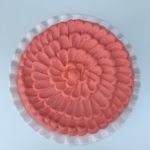
Starting at the bottom of the cake, pipe dots until you have reached the top of the cake. Using the technique you practiced above, cover your entire cake using the petal effect. When you get to the last row the easiest way to finish is just with a vertical row of dots. Make that the back of your cake. Continue and give the top of your cake the petal effect as well.
I’ve seen cakes done with the same technique going up the cake (instead of around) and you can mix it up on the top of the cake doing rows in different directions. Use your creativity!
I really enjoy doing the Ombre effect!
Enjoy!!!
Ombre Vanilla Cake
Ingredients
Cake
- 3 3/4 cups all purpose flour sifted
- 1 tsp baking powder
- 3/4 tsp baking soda
- 1 tsp salt
- 1 1/2 cups unsalted butter room temperature
- 2 cups granulated sugar
- 5 large eggs room temperature
- 1 tbsp pure vanilla extract
- 1 3/4 cups buttermilk room temperature
Vanilla Buttercream
- 1 1/2 cups unsalted butter room temperature
- 5 - 6 cups confectioners' sugar
- 5 - 6 tbsp heavy cream
- 1 tsp pure vanilla extract
Instructions
Making the Cake
-
Preheat oven to 350°F (177°C). Grease and lightly flour three 9-inch cake pans.
-
Whisk the flour, baking powder, baking soda, and salt together in a large bowl. Set aside.
-
Using a handheld or stand mixer fitted with a paddle or whisk attachment, beat the butter and sugar together on high speed until smooth and creamy, about 3 minutes. Scrape down the sides and up the bottom of the bowl with a rubber spatula as needed.
-
On medium-high speed, add 1 egg at a time, beating well after each addition. Beat in the vanilla extract. Scrape down the sides and up the bottom of the bowl with a rubber spatula as needed.
-
With the mixer on low speed, add the dry ingredients in three additions alternating with the buttermilk, beginning and ending with the dry ingredients, and mixing each addition just until incorporated. Do not overmix this batter. The batter will be smooth, velvety, and slightly thick.
-
There is about 8 cups of batter total, so each layer will be 2 and 2/3 cups. Pour/spread batter evenly into prepared cake pans.
-
Bake for around 25-26 minutes or until the cakes are baked through. To test for doneness, insert a toothpick into the center of the cake. If it comes out clean, it is done. Allow cakes to cool completely in the pans set on a wire rack. The cakes must be completely cool before frosting and assembling.
Making the Buttercream Frosting
-
In a large bowl using a hand-held mixer or stand mixer fitted with a whisk or paddle attachment, beat the butter on medium speed until creamy, about 2 minutes.
-
With the mixer running on low, add 5 and 1/2 cups confectioners' sugar, 5 tablespoons heavy cream, and the vanilla extract. Increase to high speed and beat for 3 full minutes.
-
Add 1/2 cup more confectioners' sugar if frosting is too thin, 1 more tablespoon cream if frosting is too thick.
-
Yields about 4.5 cups of frosting.
Assemble and Decorate the Cake
-
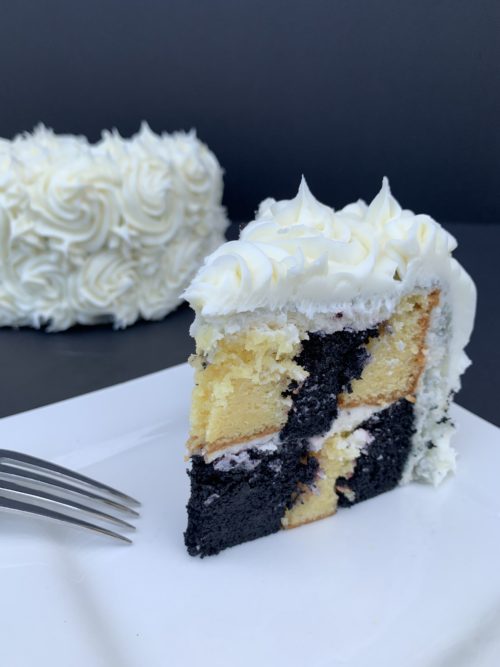
First, using a large serrated knife, slice a thin layer off the tops of the cakes to create a flat surface. Discard or save and eat later.
-
Place 1 cake layer on your cake stand, cake turntable, or serving plate. Spread frosting evenly on top.
-
Top with 2nd cake layer and evenly cover the top with more frosting.
-
Top with the third cake layer and evenly cover the top with more frosting. Cover the sides with a crumb coat finish of frosting.
-
Use a bench scraper to smooth out the frosting on the sides of the cake.
-
Decorate cake with the ombre effect and follow the instructions above.
-
Refrigerate the cake for 2-3 hours or up to 1 day before slicing and serving. If chilling for more than a few hours, loosely cover with plastic wrap after 1 hour of refrigeration (the frosting will "set" after about 1 hour and the plastic wrap won't really ruin your frosting at that point).
Recipe Notes
Cover and store leftover cake in the refrigerator for up to 1 week.