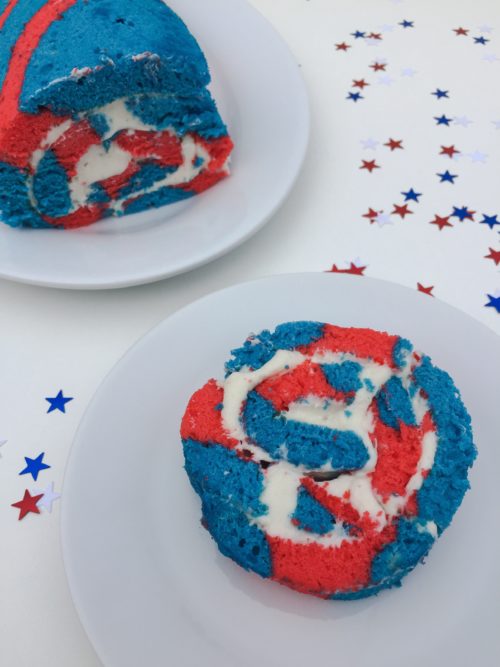
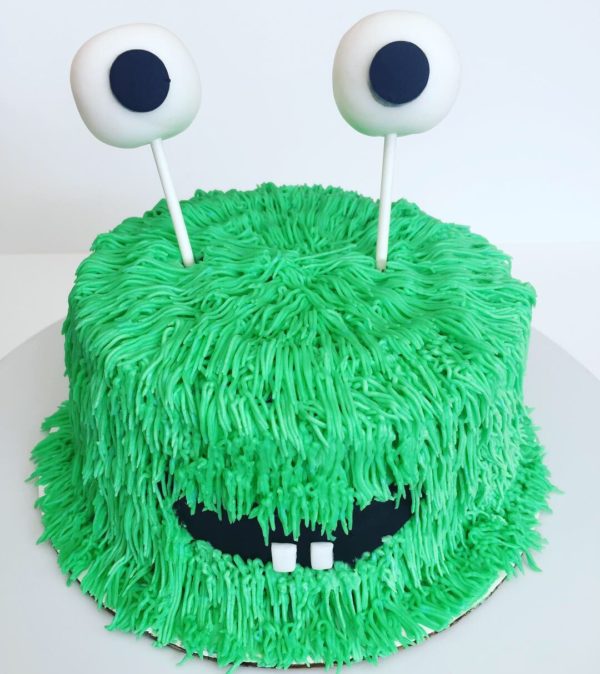
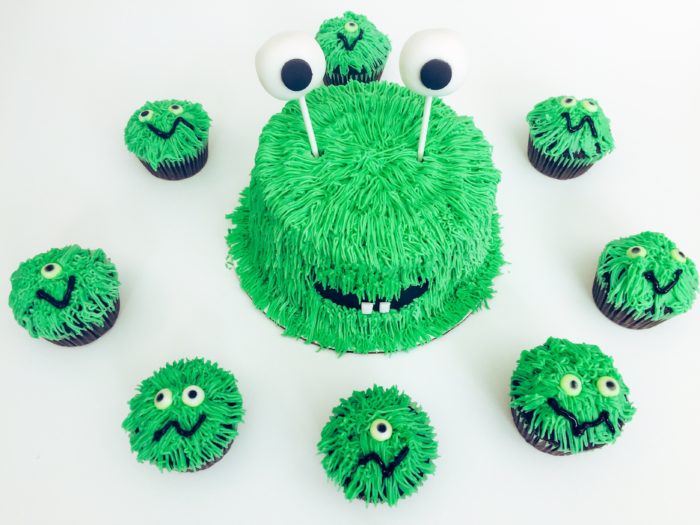
This would be the perfect cake to add to a Halloween party. How cute is this Monster Cake?!
![]()
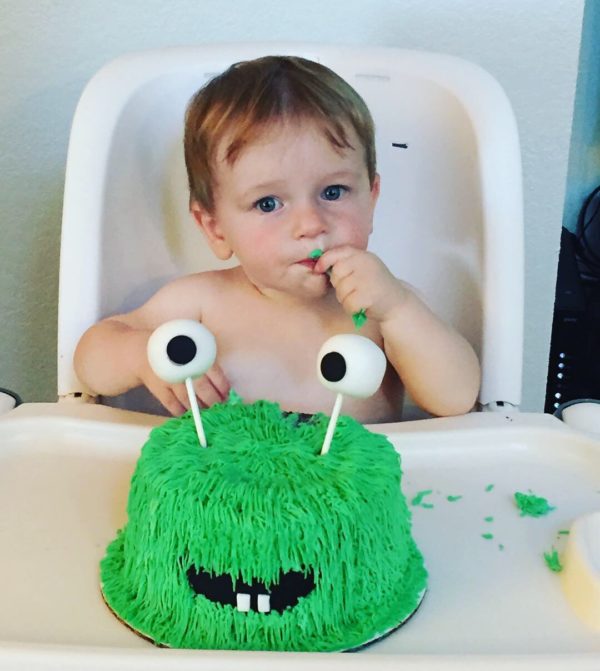
I got to make this cake for a one year old birthday a few weeks ago and I think it would be great for Halloween too! Little Andrew destroyed the cake. He loved every bit of the Monster Cake!
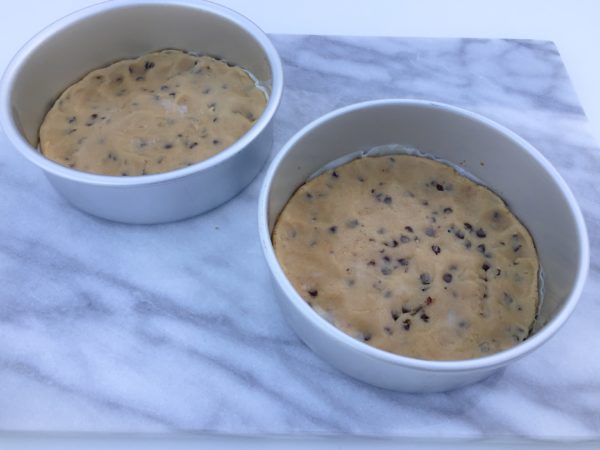
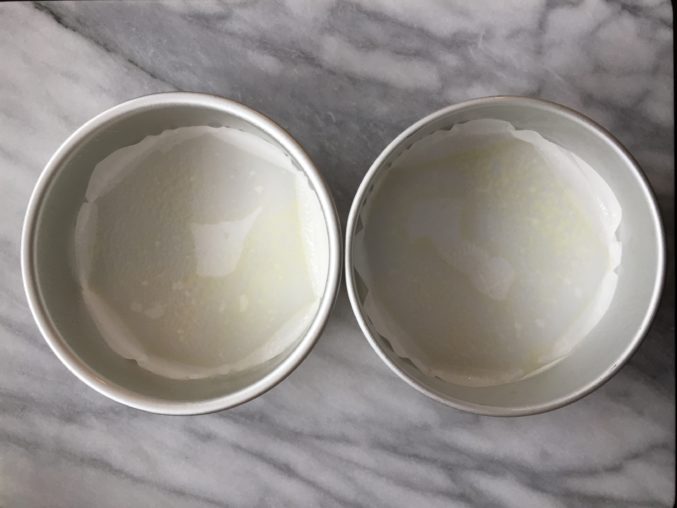
To begin you will need two round 8 inch pans. Spray the bottom of the pans with nonstick already. Cut out parchment paper and lay it at the bottom of the pans. Spray the parchment paper. This helps the cake to release easily from the pans.
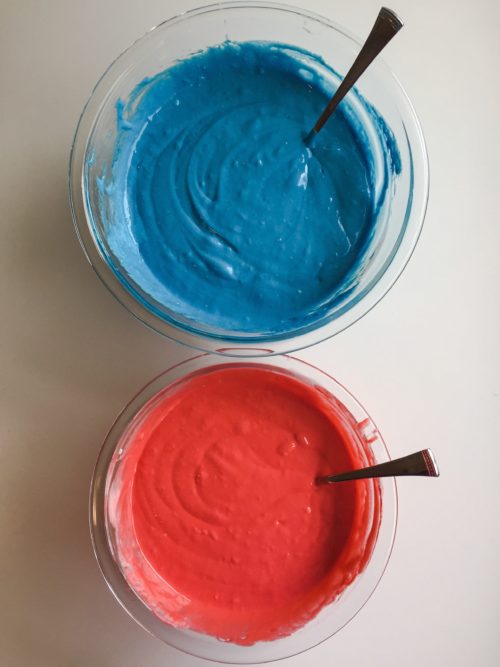
Make your batter from any cake mix. I decided to use a boxed cake cause Andrew was going to destroy the cake anyway. Bake the cake per instructions on the box. Let the cake cool before frosting. Make the frosting while the cakes are cooling. You can use paste or food coloring to add to the frosting. Use any color!
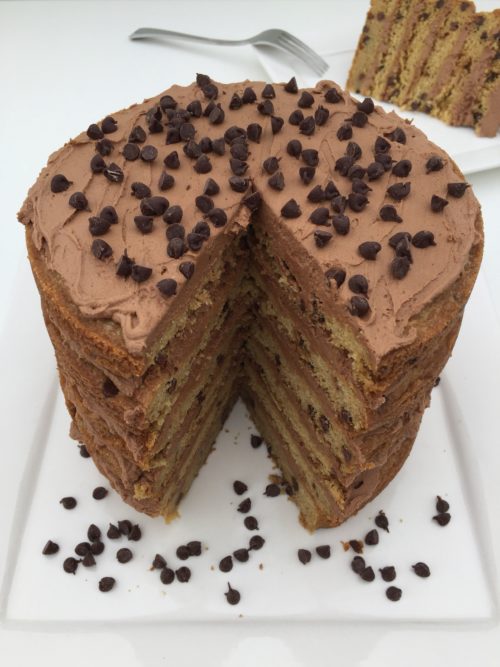
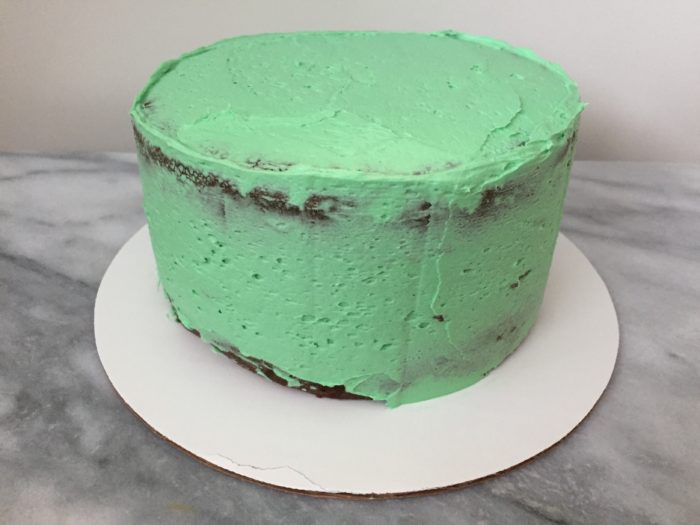
When the cakes are completely cooled cut the top of the cakes off so you have a flat surface on each cake. Take one cake and cover the top with frosting. Add the second cake to the top of the other frosted cake. Cover the cake with frosting. It doesn’t need to be perfect.
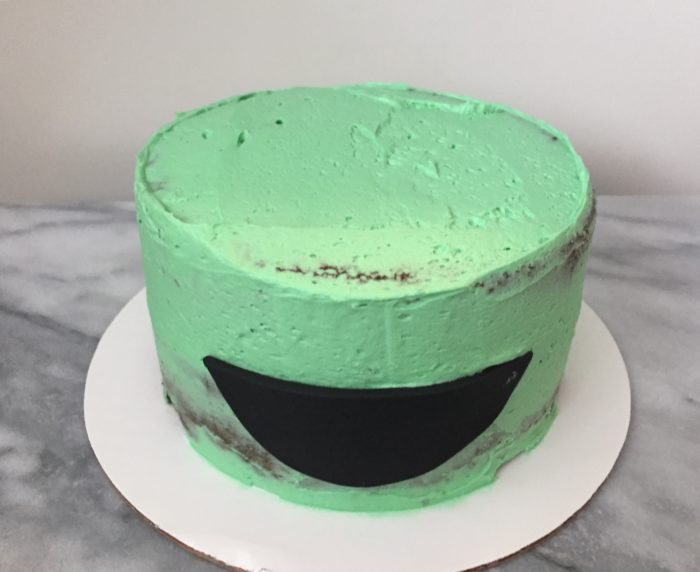
Cut out the smile for the cake from black fondant and apply it to the front of the cake.
At this point you’ll start to pipe the fur so it becomes a monster. Don’t be scared it’s easy! Using a Wilton 233 M tip and a piping bag, fill the bag half full of buttercream frosting. Pipe and pull at different lengths, in rows starting at the bottom of the cake and work your way up while frosting. This will give the fur a shaggy look. Go around the whole cake. When you get to the top do the same method but only go around the edge one row at a time.
Once you finish frosting the cake make the eyes. Roll white fondant in a ball and add black circles to the eyes. Stick a lollipop stick in the bottom middle of the eyes. Stick them into the top of the cake whenever you want. Roll out white fondant for the two teeth and cut out two small squares. Attach the two squares to the mouth.
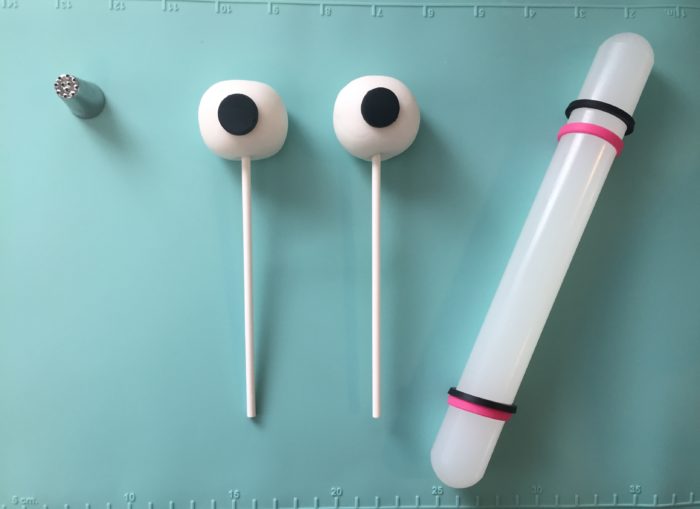
Showing is the Wilton tip 233 M, the eyes for the cake and a fondant roller I used to roll of the middle of the eyes and mouth.
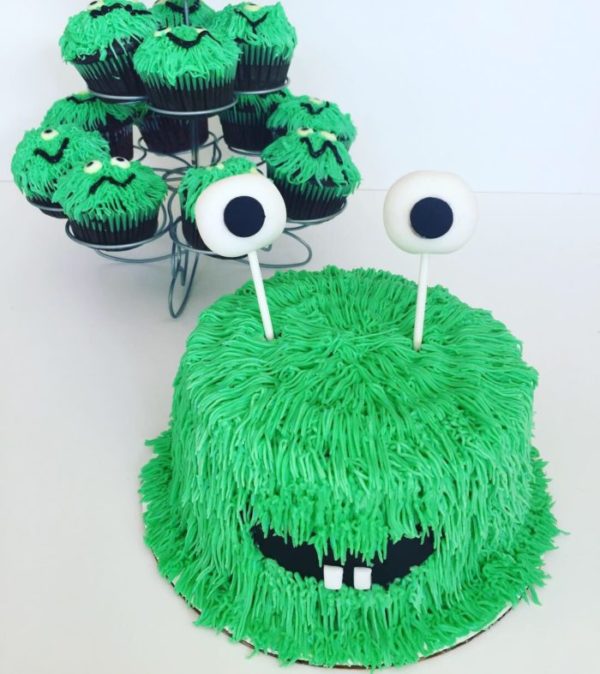
Your cake is now complete! I also made mini cupcakes for the adults to eat and added sugar eye balls to the tops. I used black icing for the mouths on the cupcakes.
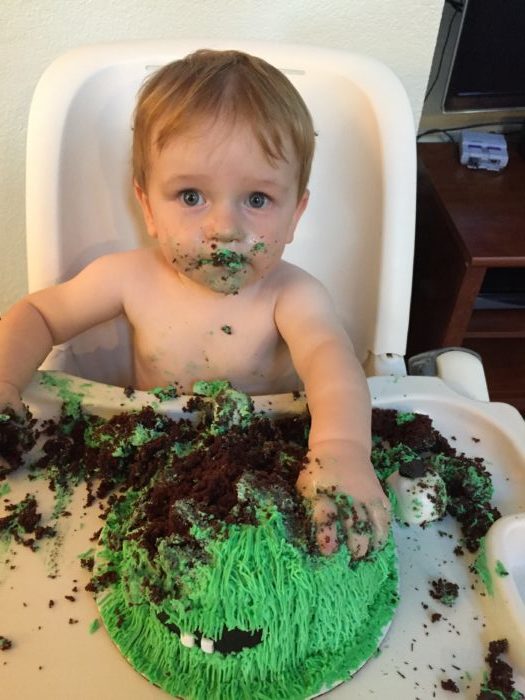
The cake destroying was the best part of the day from Andrew. He loved it! This was his first little nibble and he was trying to figure it out.
Pretty sure he realized at this point he loved the Monster Cake!
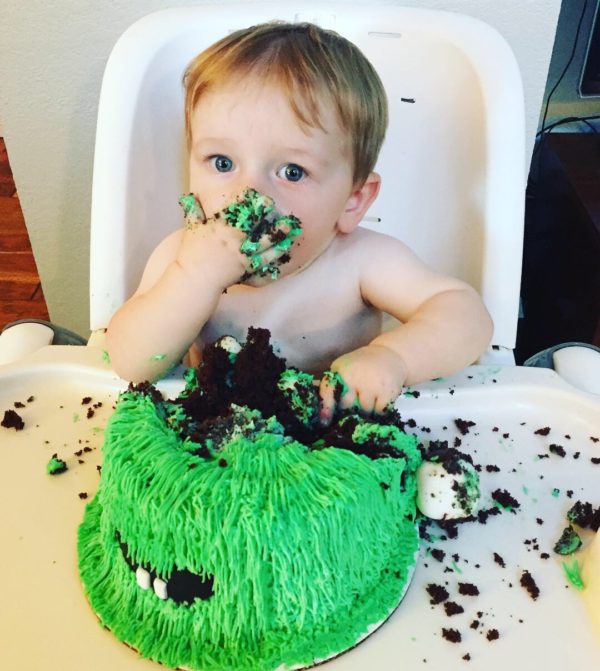
He destroyed almost the whole thing. Great job for a one year old!