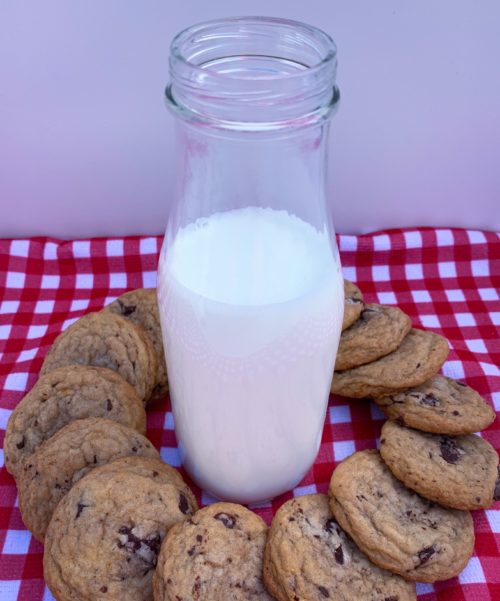
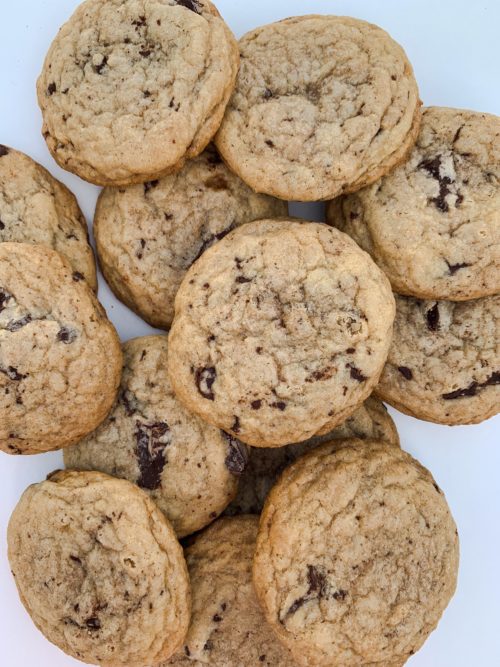
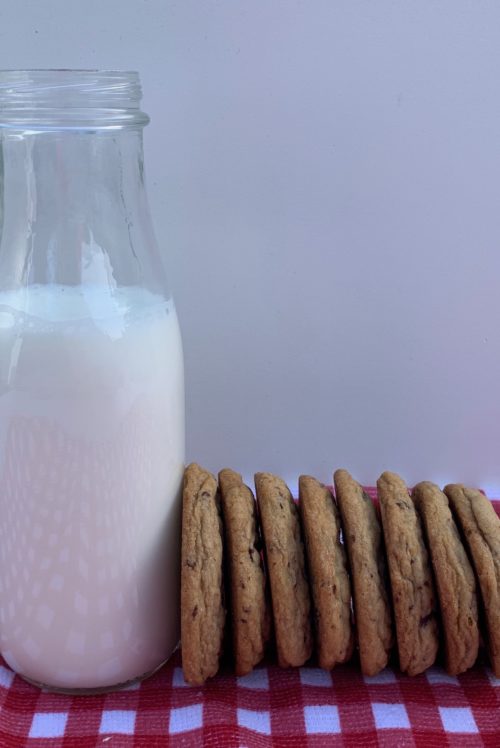
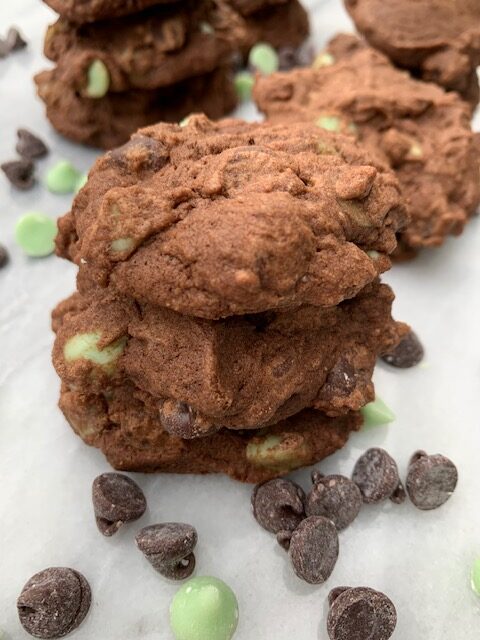
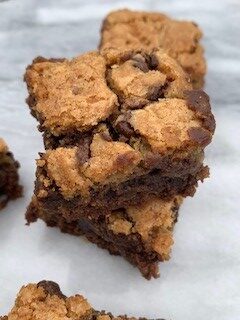
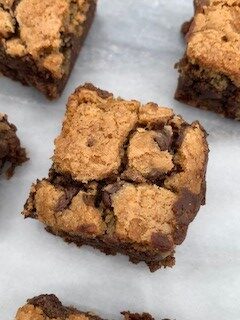
Mint Chocolate Delights were my new favorite cookies during the holidays. I’m posting this a little later since it’s spring time but keep them on your radar when you run across these morsels. When I tried these mint chocolate chips I fell in love with them! I found these at my local grocery outlet. They have a lot of random baking items.

Combine flour, coca, baking soda and salt in small bowl. Set aside

Beat butter, granulated sugar, brown sugar and vanilla in large mixer bowl until creamy. Add eggs one at a time, beating well after each addition.

Gradually beat in the flour mixture. Stir in morsels.
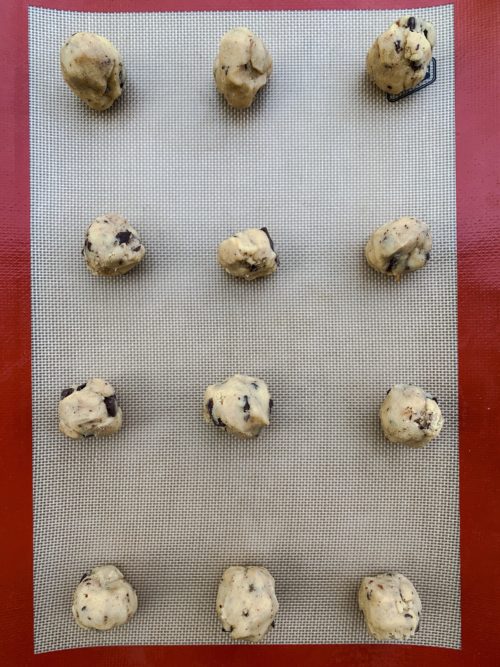
Drop well rounded tablespoons or use a cookie scoop onto ungreased baking sheet or use silicone mats.
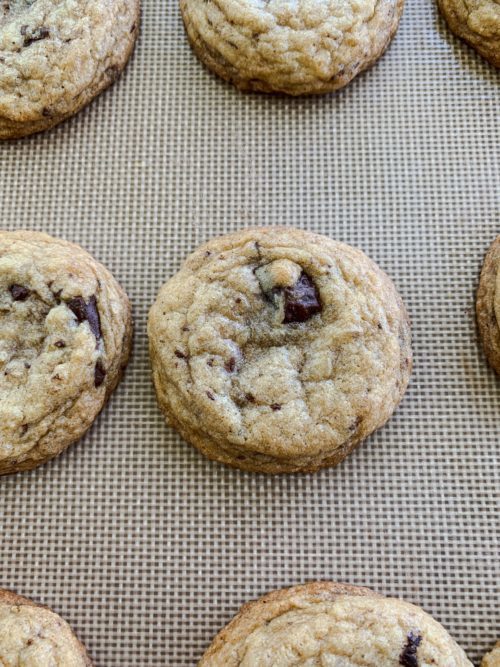
Bake 10 – 12 minutes or until cookies are puffed and centers are set.
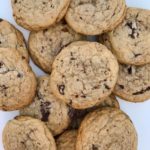
Enjoy these mint chocolate delights!!

Mint Chocolate Delights
Ingredients
- 2 cups all-purpose flour
- 2/3 cup baking coca
- 1 tsp baking soda
- ½ tsp salt
- 1 cup 2 sticks butter, softened
- 2/3 cup granulated sugar
- 2/3 cup packed brown sugar
- 1 tsp vanilla extract
- 2 large eggs room temperature
- 1 2/3 dark chocolate & mint morsels or more
Instructions
-
Preheat oven to 325 degrees F
-
Combine flour, coca, baking soda and salt in small bowl. Set aside
-
Beat butter, granulated sugar, brown sugar and vanilla in large mixer bowl until creamy. Add eggs one at a time, beating well after each addition.
-
Gradually beat in the flour mixture.
-
Stir in morsels.
-
Drop well rounded tablespoons or use a cookie scoop onto ungreased baking sheet or use silicone mats.
-
Bake 10 – 12 minutes or until cookies are puffed and centers are set.
-
Cool on baking sheet for 2 minutes and transfer to wire racks to cool completely.
-
Makes about 4 dozen cookies


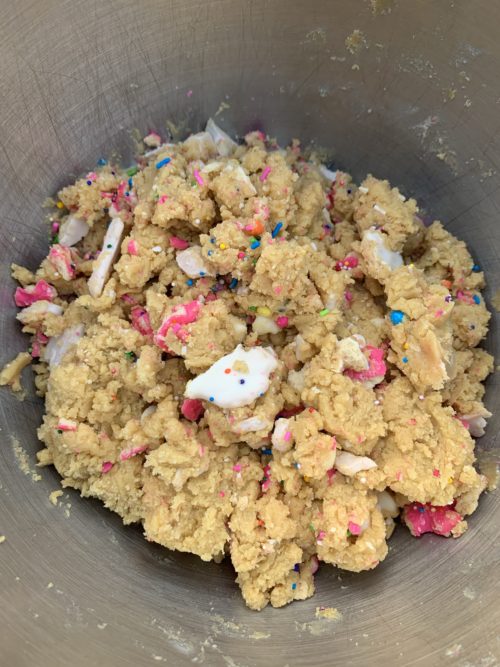
 Using a handheld or stand mixer fitted with a paddle attachment, cream butter and oil until smooth on medium speed. Beat in sugars. Add egg and egg yolk and vanilla, then beat on medium-high speed until combined.