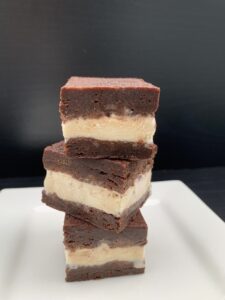
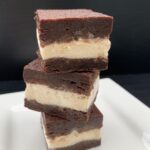
If you love Andes Mint you will love these Andes Mint Truffles! They aren’t overly rich but just enough richness to them.

This recipe is simply to make so don’t over think the chocolate coating, It’s simple!

Make sure you keep them refrigerated after you make them since cream cheese is in the recipe.
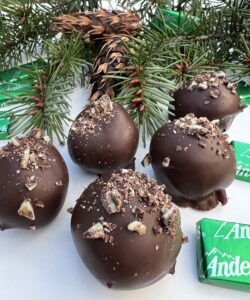
Enjoy these andes mint balls!


Andes Mint Truffles
Ingredients
Truffle Filling
- 8 oz cream cheese softened
- 2 cups chocolate chips semisweet
- ¼ cup Andes Mints chopped
- 2 cups confectioner's sugar
- 1 tsp peppermint extract
Truffle Coating
- 4 4 oz chocolate bars chopped
- 1/2 tsp oil
Instructions
Truffle Filling
-
Combine the softened cream cheese and confectioner's sugar in a large mixing bowl. Add the peppermint extract.
-
Melt the chocolate chips and crushed Andes mints in the microwave at 50% power and 30 second bursts until smooth.
-
Pour the melted chocolate into the cream cheese mixture and beat until smooth.
-
Scoop the filling out and onto a large piece of plastic wrap. Close the plastic wrap tightly and refrigerate for 1 hour.
-
Roll the truffles into one-inch balls and place on a baking tray covered in parchment paper or silcone mat. Return to refrigerator.
Truffle Coating
-
Melt the chocolate: Place chopped chocolate and oil in a glass bowl or a 2-cup liquid measuring cup—its depth makes dipping really easy. Melt in 20-second increments in the microwave, stirring after each increment, until completely melted and smooth. You can also melt the chocolate using a double boiler, or a heatproof bowl placed over a pot of simmering water. Stir constantly until melted.
-
It's easier to keep the balls in the fridge and grab a few at a time as you cover the balls in chocolate. Submerge into the melted chocolate and swirl to coat; carefully lift out using a fork. Tap the fork/tool gently on the side of the bowl/measuring cup to let excess chocolate drip off. Use a toothpick to help slide the truffle off of the fork and onto a lined baking sheet.
-
Garnish with chopped andes mint